Table of contents
Getting locked out of your own site by your own security plugin is a rite of passage — Wordfence's brute-force protection can't always tell an owner with a forgotten password from an attacker. Here's every way back in, fastest first, and the settings that prevent round two. Screenshots from Wordfence on WordPress 7.0, August 2026.
- Fastest: click "unlock email" on the lockout page and use the emailed link.
- No email access? Rename
wp-content/plugins/wordfencevia FTP/file manager → log in → rename back. - 2FA lockout: use a recovery code from when you set 2FA up.
- Afterward: allowlist your IP and raise the lockout thresholds for logged-in mistakes.
The block page Wordfence shows includes a link to receive an unlock email at the site's admin address. If you control that inbox, this is the 60-second fix: click the link, log in, done.
Connect with FTP/SFTP or your host's file manager and rename:
wp-content/plugins/wordfence → wp-content/plugins/wordfence-off
WordPress deactivates a plugin it can't find, the lockout disappears, and you can log in normally. Rename the folder back afterward and Wordfence reactivates with settings intact. (This works for any misbehaving plugin — it's the most useful WordPress rescue trick there is.)
If two-factor authentication is what's blocking you, the login form accepts one of the five recovery codes generated when 2FA was enabled:
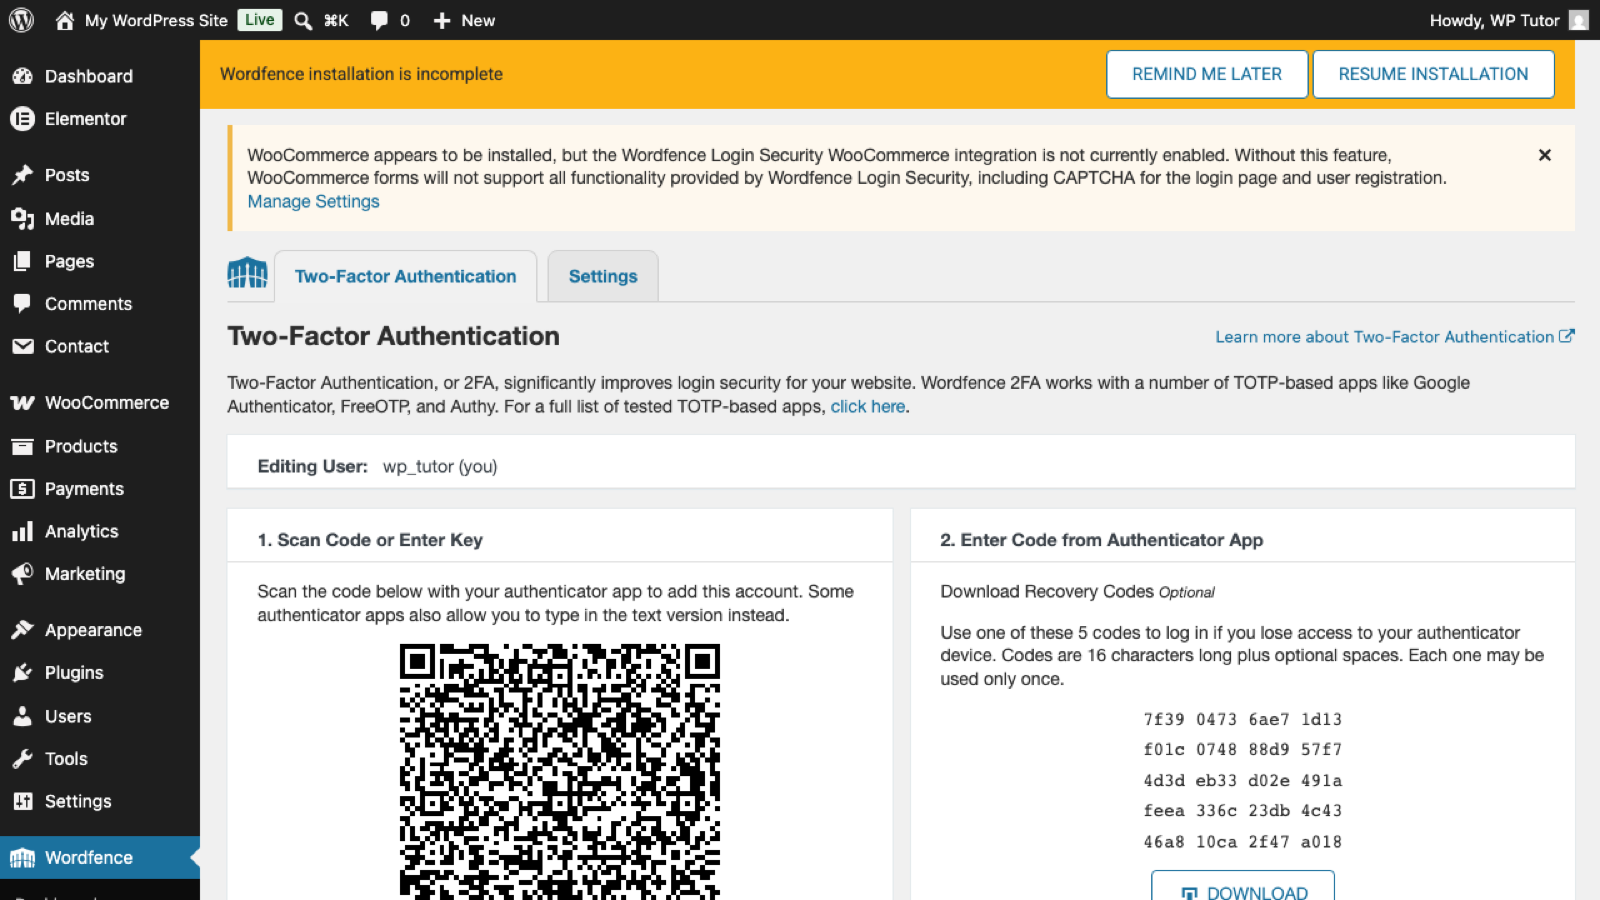
Each code works once. No codes saved? Use the Step 2 rename, log in, then reset 2FA properly — and download the new codes.
Back inside, visit Wordfence's brute-force settings:
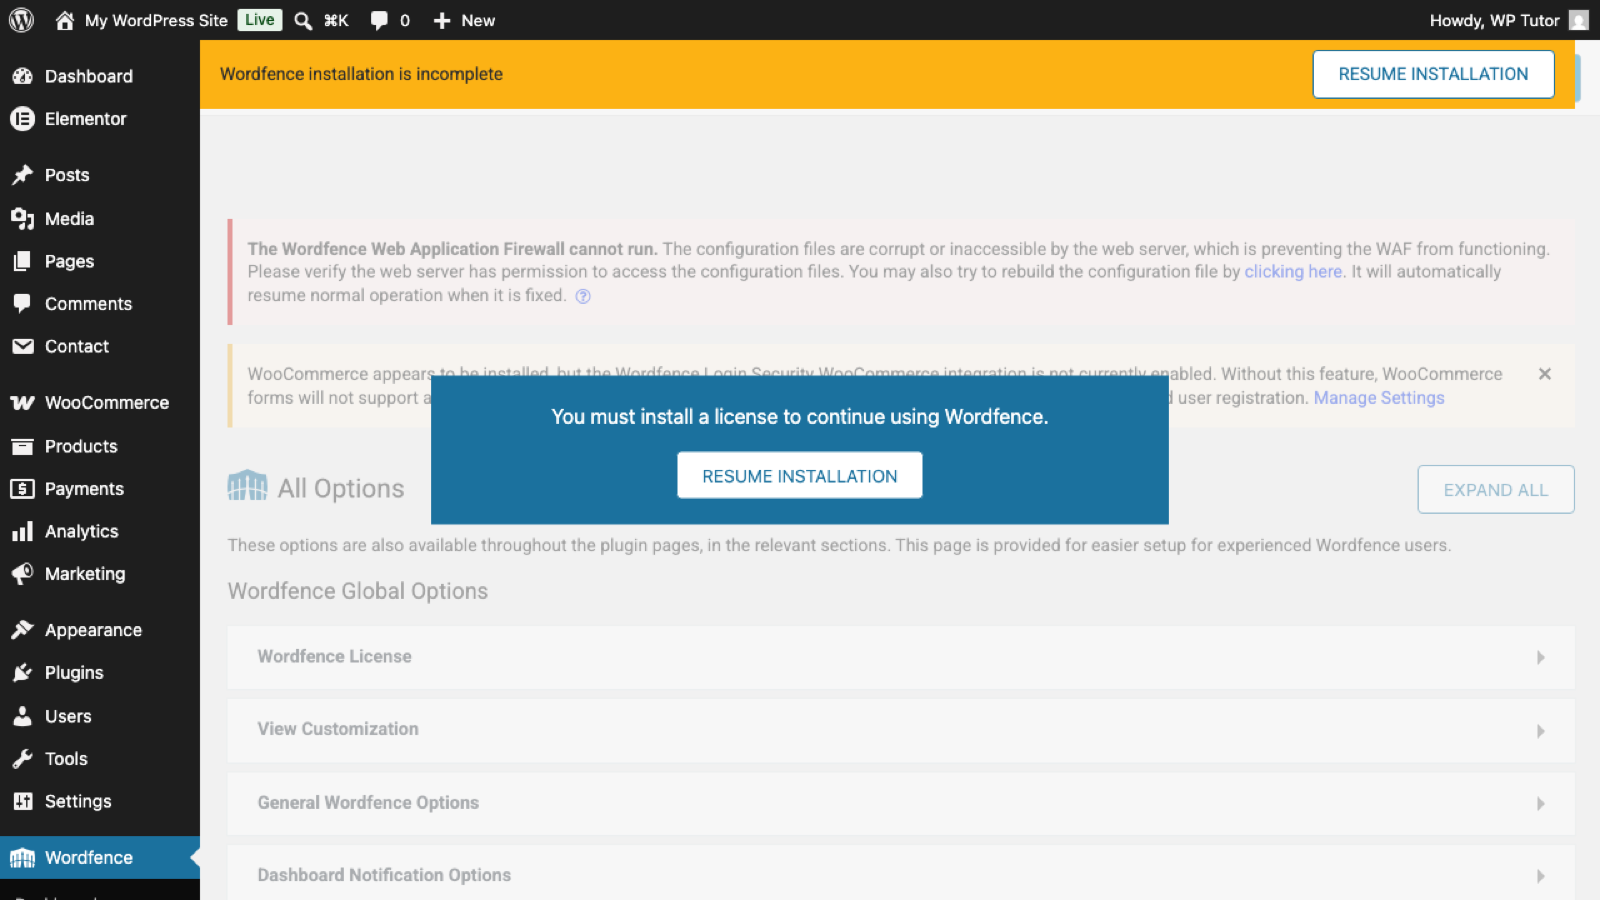
- Allowlist your IP so your own office/home never triggers lockouts.
- Set failures-before-lockout to something humane (10+) — attackers get blocked either way; you get room for typos.
- Confirm the site's admin email is one you actually read: it's where unlock links go.
This is literally what wp.support is for — describe the lockout and get walked through the exact rescue for your hosting setup, any hour.
Leave a comment