
The process to password protect WordPress pages or posts is relatively easy. When you typically publish a WordPress page or post it is automatically visible to the public. However, here are a couple of scenarios where it may come in handy:
- A client or customer needs quick access to data that may be too sensitive for email
- A small subset of your group or organization needs to upload or download information
- You want to create a value add to your website without creating a full blown membership site
How to Password Protect WordPress Pages and Posts Video Tutorial
You Try – Interactive Tutorial to Password Protect WordPress Pages and Posts – (Sound Enabled)
Here’s an interactive tutorial
To Password Protect a WordPress page or post follow these steps below
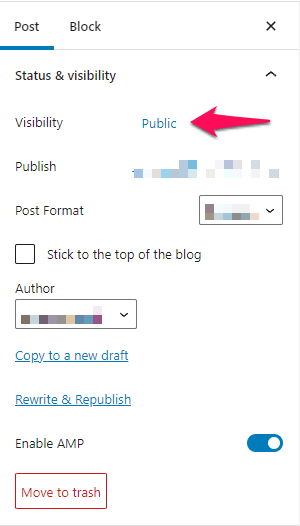
STEP 1 : Underneath the Publish section by the visibility icon which says public click Edit
STEP 2 : You Have two options Password Protect or private
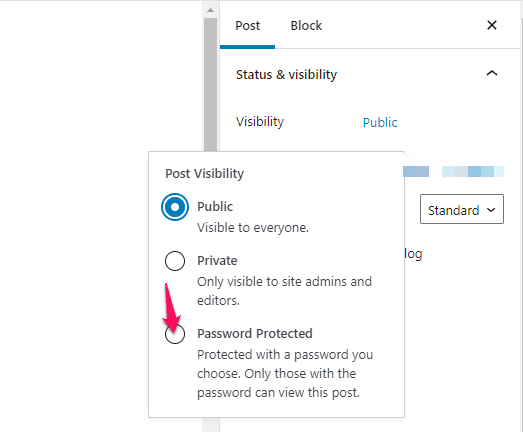
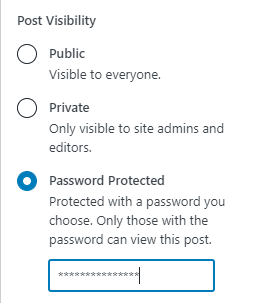
- When Checking Password protected it will reveal a text field for entering a password, that will be required to view that page or post.
- The password is limited to 20 characters.
- Checking Private makes your page or post visible only to your site’s Users with the role of Administrator or Editor
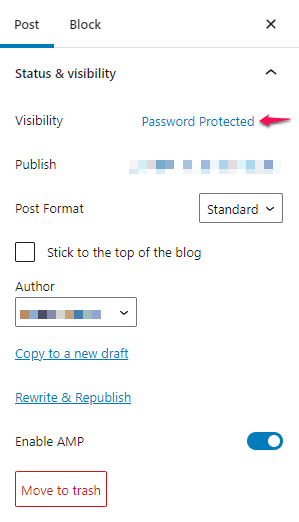
STEP 3: When you’re done editing the page or post’s visibility, click the “OK” button.
You should now see your new setting, Visibility: Password Protected.
(HINT) The change does not take effect until you click the Publish button
or Update if the post is already published.
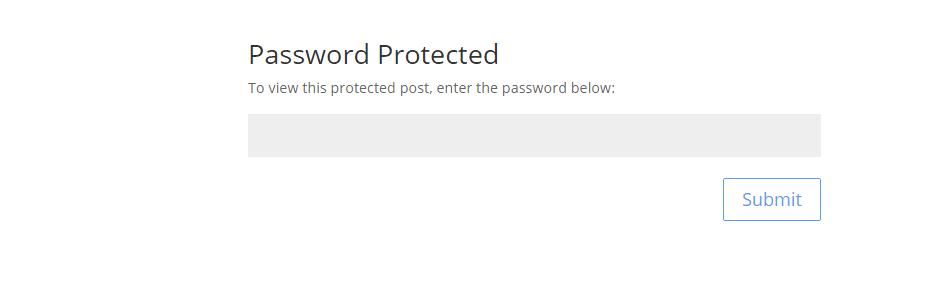
Once the password has been entered – non administrators and editors will see the following when they visit that page:
Have You Lost Your password or need to change it? Only an Administrator, Editor, or the post’s Author can change a page or post’s password or visibility setting. To do so, use the Visibility: Edit link again following the steps listed above.

Copyright ByRivers Tech LLC/ WP-Tutoring.Com All Rights Reserved.
