Step 1
Hover your mouse over the Add Block icon (the plus sign in the upper left hand corner within the Gutenberg editor).
Step 2
Select Blocks. Then scroll to Format. Under that section you will see Table. Select Table.
Hint: You can also type “table” in the search bar to quickly get to the table option
Step 3
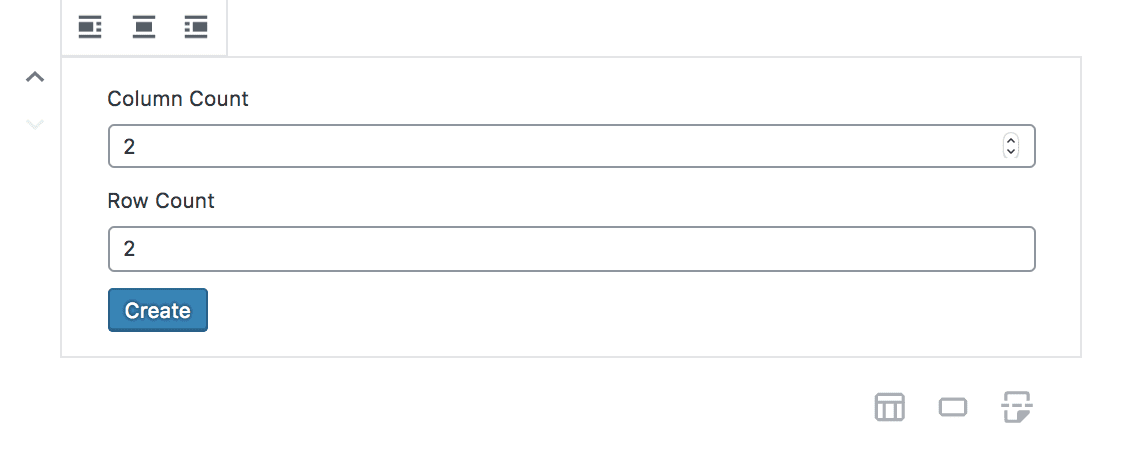
Enter the amount of rows and columns you would like to use in your table. You can also set your alignment options in the block.
Step 4

Enter the elements you would like to appear inside your table. With the “Edit Table” menu tab, you can add more columns or rows to your table. There are other text formatting options available (bold, add italics, and strikethrough text).
Step 5
In the right hand sub menu, you can add a css class under the advanced section. Save your page when you’re complete.


Copyright ByRivers Tech LLC/ WP-Tutoring.Com All Rights Reserved.
