
There are three ways to add images with Gutenberg: as an individual image, cover image, or an image gallery.
1. The first step is to click on Gutenberg
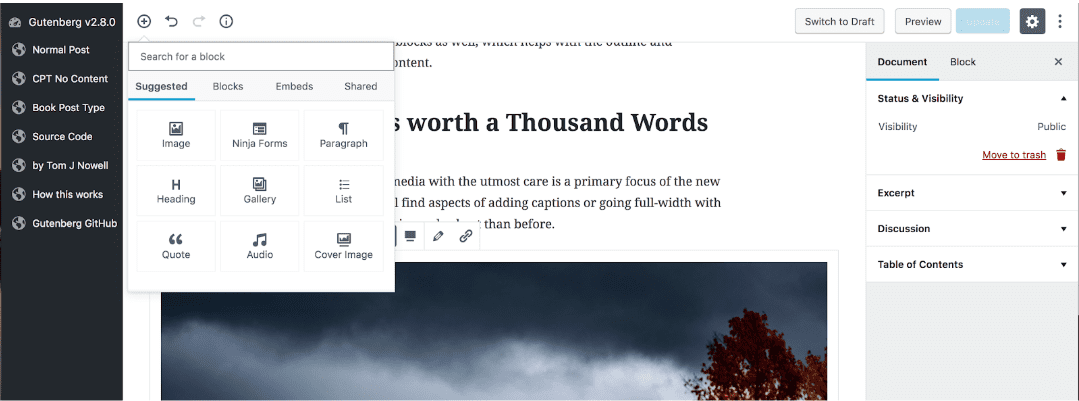
2. Click Add block (Plus Sign)
3. Click Image
4. Here you can upload a new image or add an image that has already been installed
5. Click Upload or add from media library
6. Now that your image is uploaded you can customize it and resize it
7. once you are done editing your image Click Save Publish…
8. That’s it. You’re done.
Here’s an interactive tutorial
https://www.iorad.com/player/116560/Add-images-to-Gutenberg
Step 1 Hover your mouse over the Add Block icon (the plus sign in the upper left hand corner within the Gutenberg editor).
Step 2 Select Blocks. Then scroll to Common Blocks. Under that section you will see Image. Select Image. Hint: you can also add a gallery by using the gallery block.
Step 3 The image block will appear. You can add image from your media library or upload a new one from your computer.
Step 4 Once you selected which image you would like to use, you can customize it. A toolbar is on top of the image with a few options (Alignment options, a gallery option, edit image, wide width, full width, and insert link option).
Step 5 On the right hand side, you will see the settings. There you can alter the image sizes and add css classes.


Copyright ByRivers Tech LLC/ WP-Tutoring.Com All Rights Reserved.
