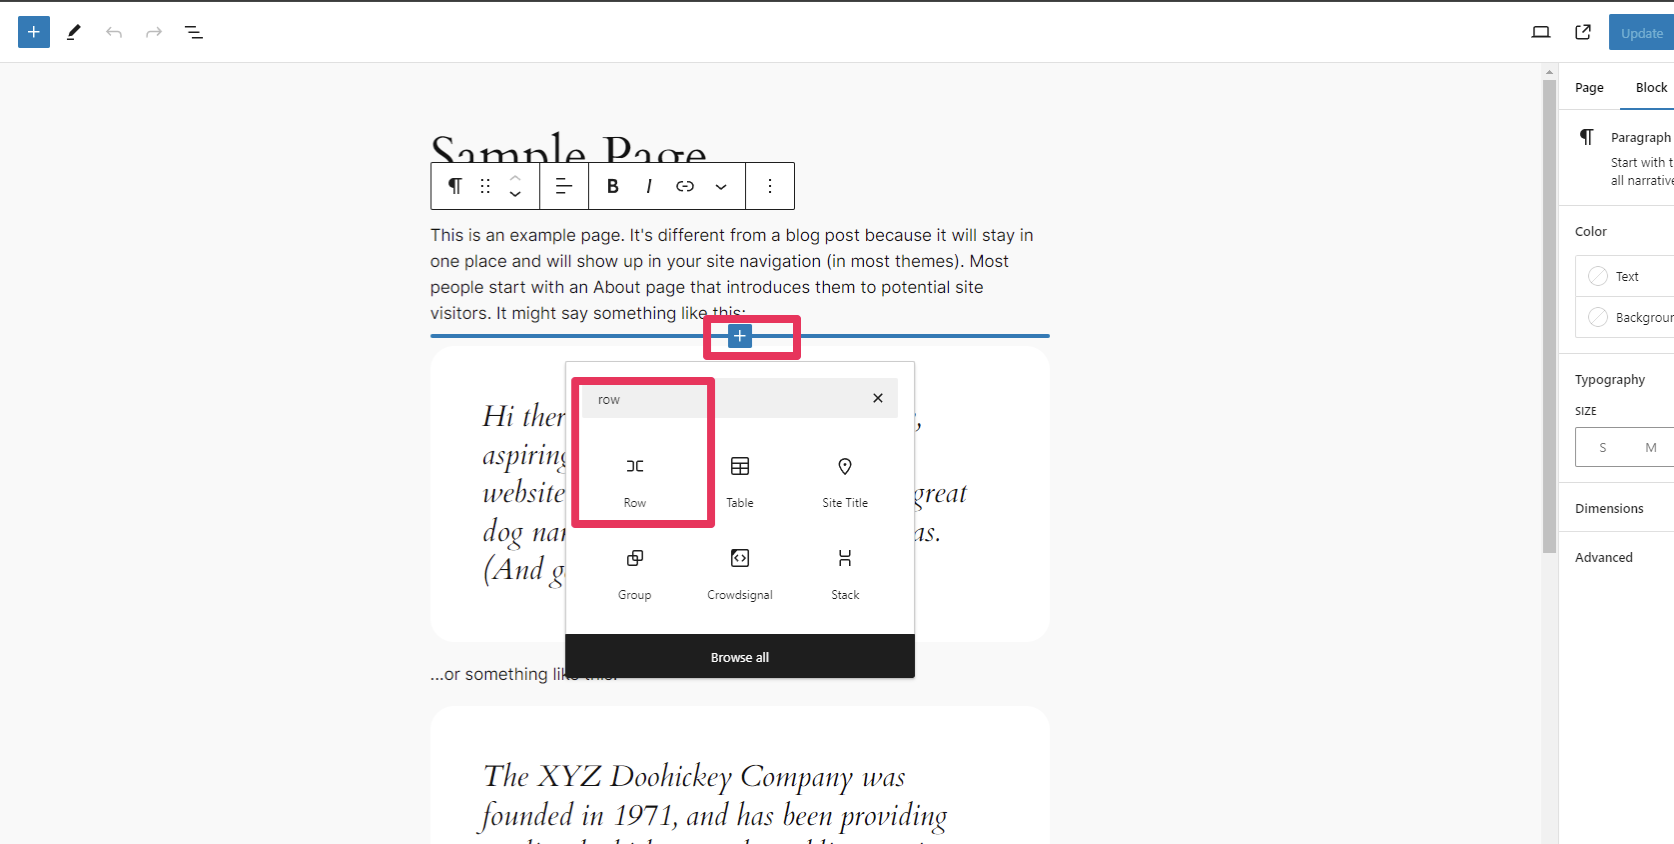
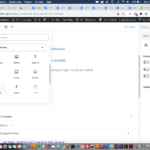
Step 1: Click on the add block button > then search and click on the row block
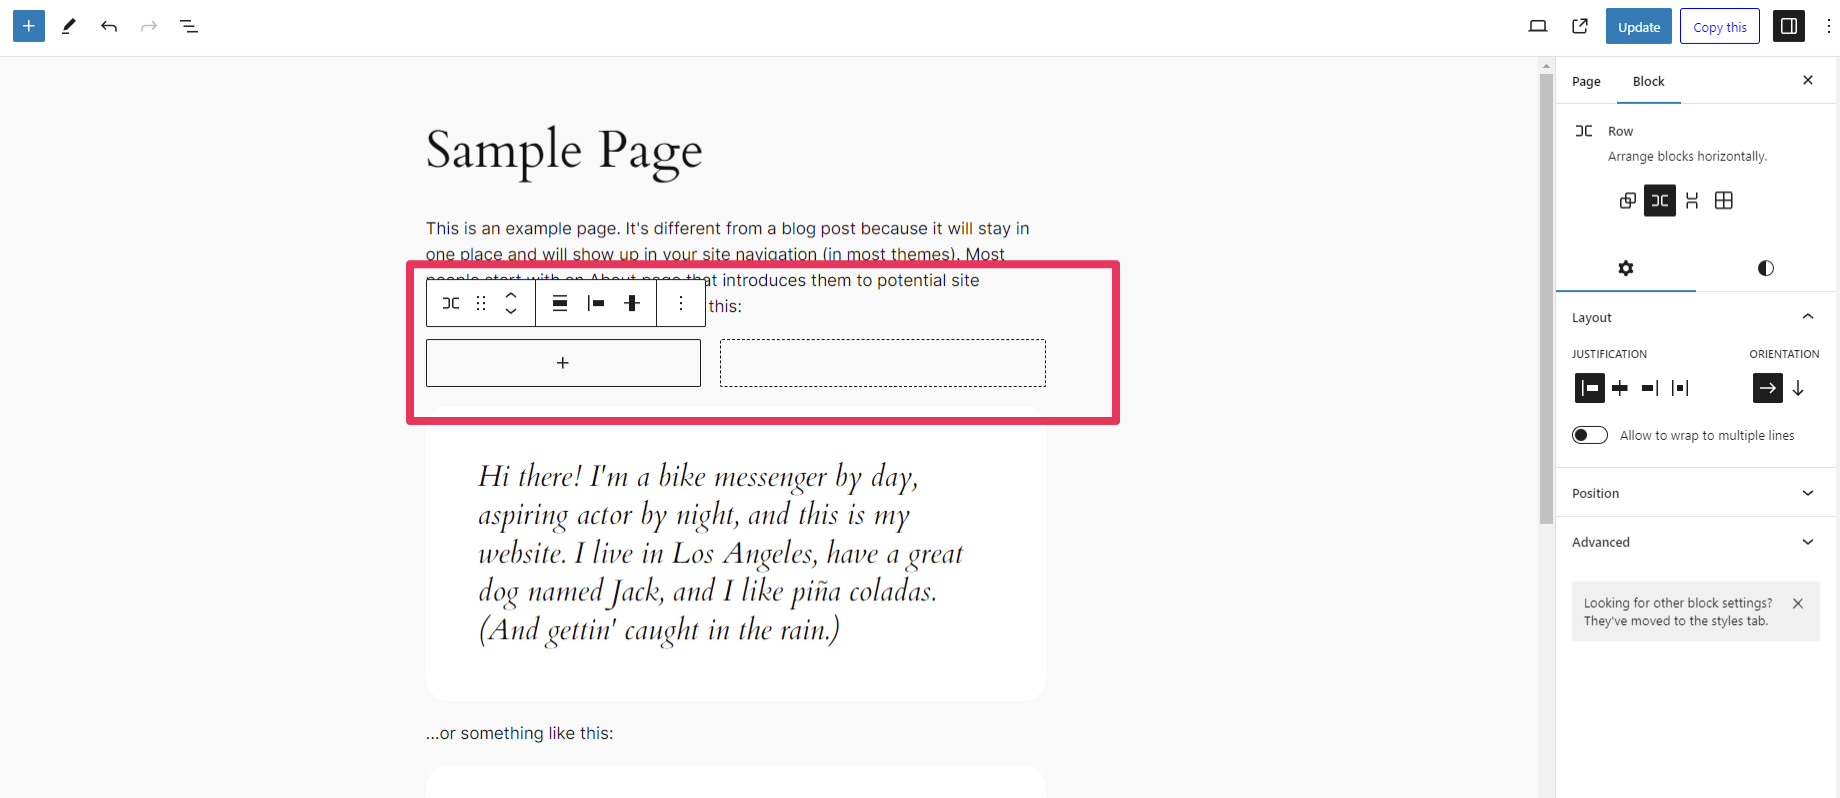
Step 2: For our example, we will add a new row with two columns > From here you can now add a new block into each column by clicking the plus icon in the center of each column.
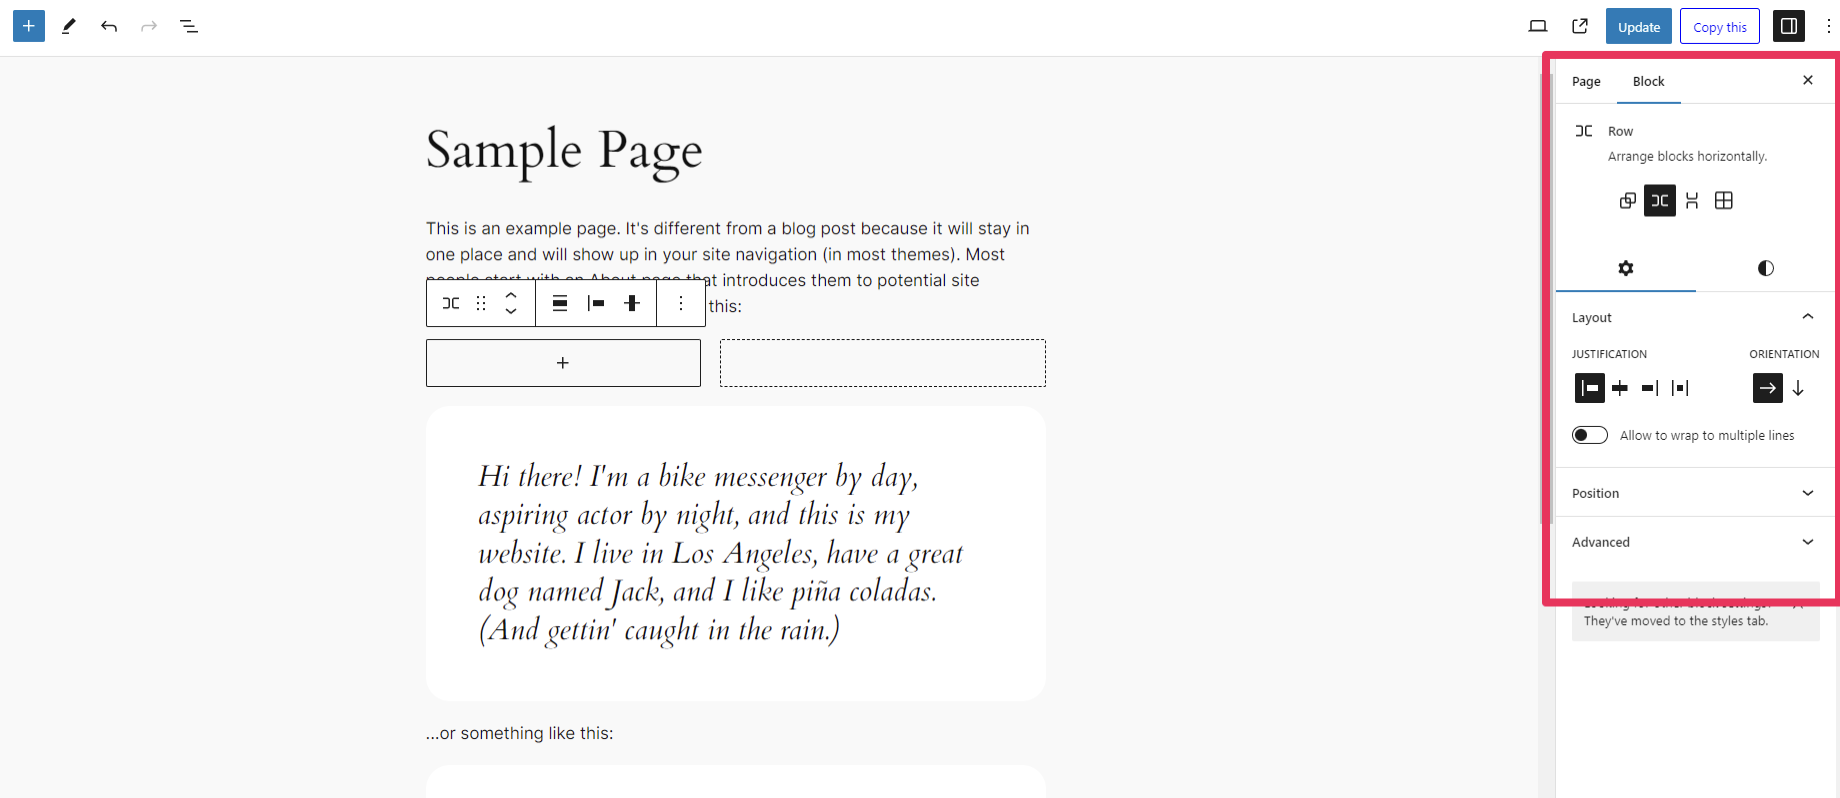
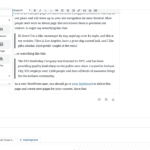
Step 3: Once your blocks are added you can configure them with the row block settings such as the orientation, how you would like them displayed as well as changing the background color and other styling options.
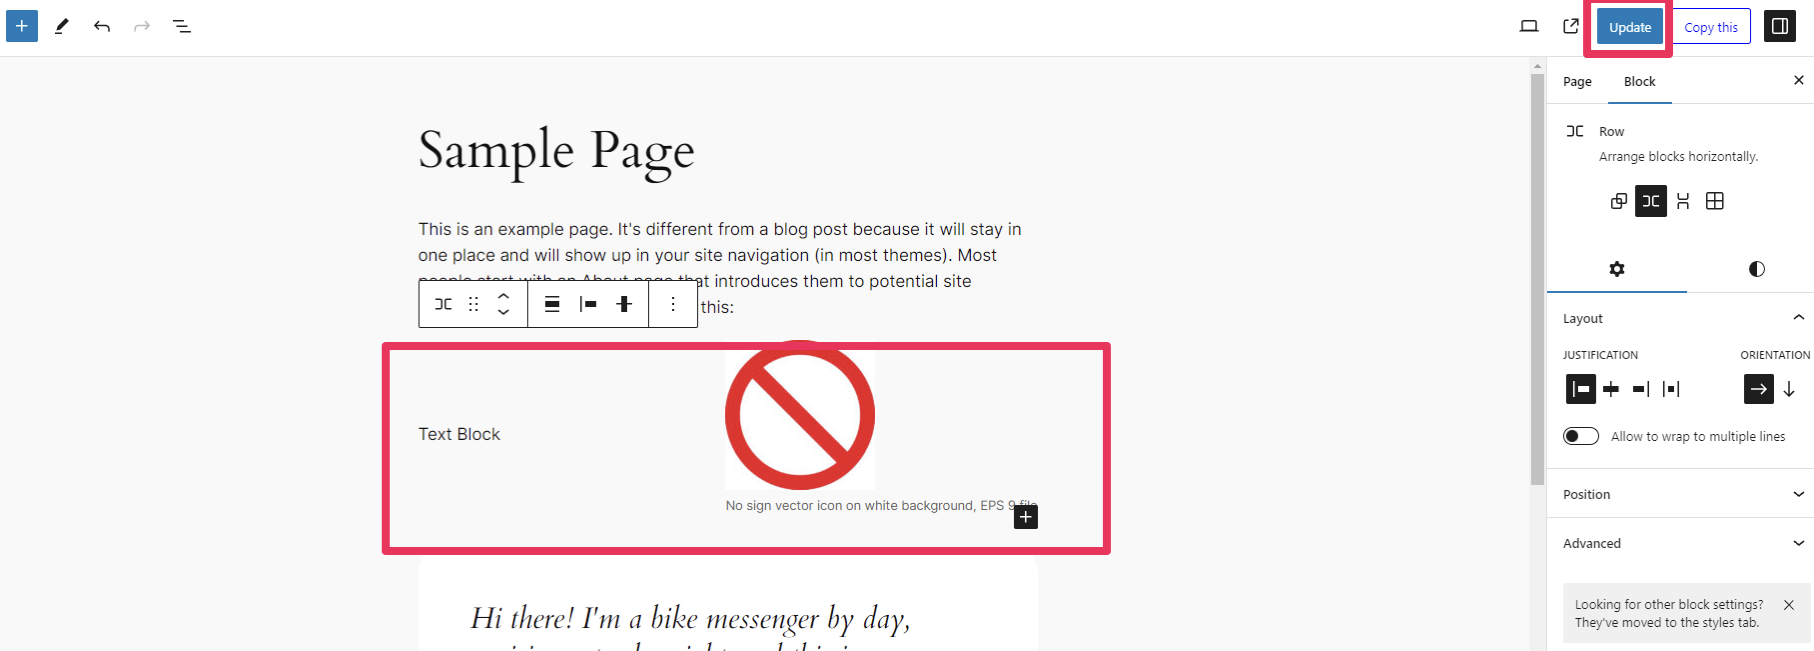
Step 4: When finished click “Update” to save all changes – In this case we’ve added a text block to the left column and an image to the right column.
Copyright ByRivers Tech LLC/ WP-Tutoring.Com All Rights Reserved.
