
Adding Constant Contact to your WordPress site can help you grow your email list and engage with your audience effectively. Below is a step-by-step guide to help you integrate Constant Contact with your WordPress website:
Step 1: Sign Up for a Constant Contact Account
If you don’t already have a Constant Contact account, you will need to create one. Visit the Constant Contact website and follow their sign-up process to create your account.
https://www.constantcontact.com/trial/signup
Step 2: Install and Activate the Constant Contact Plugin
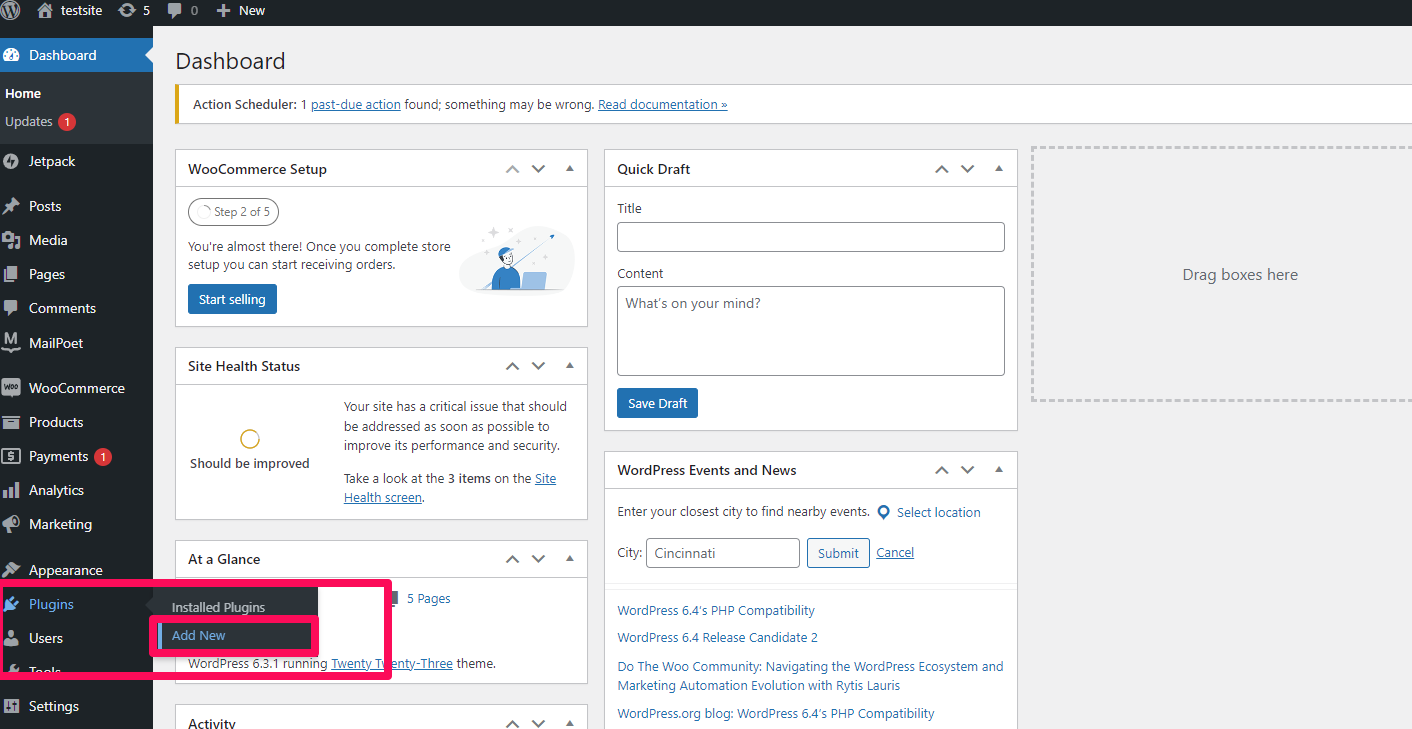
- Login to your WordPress Dashboard: Go to your WordPress admin area.
- Navigate to Plugins: On the left-hand side, click on “Plugins” and then “Add New.”
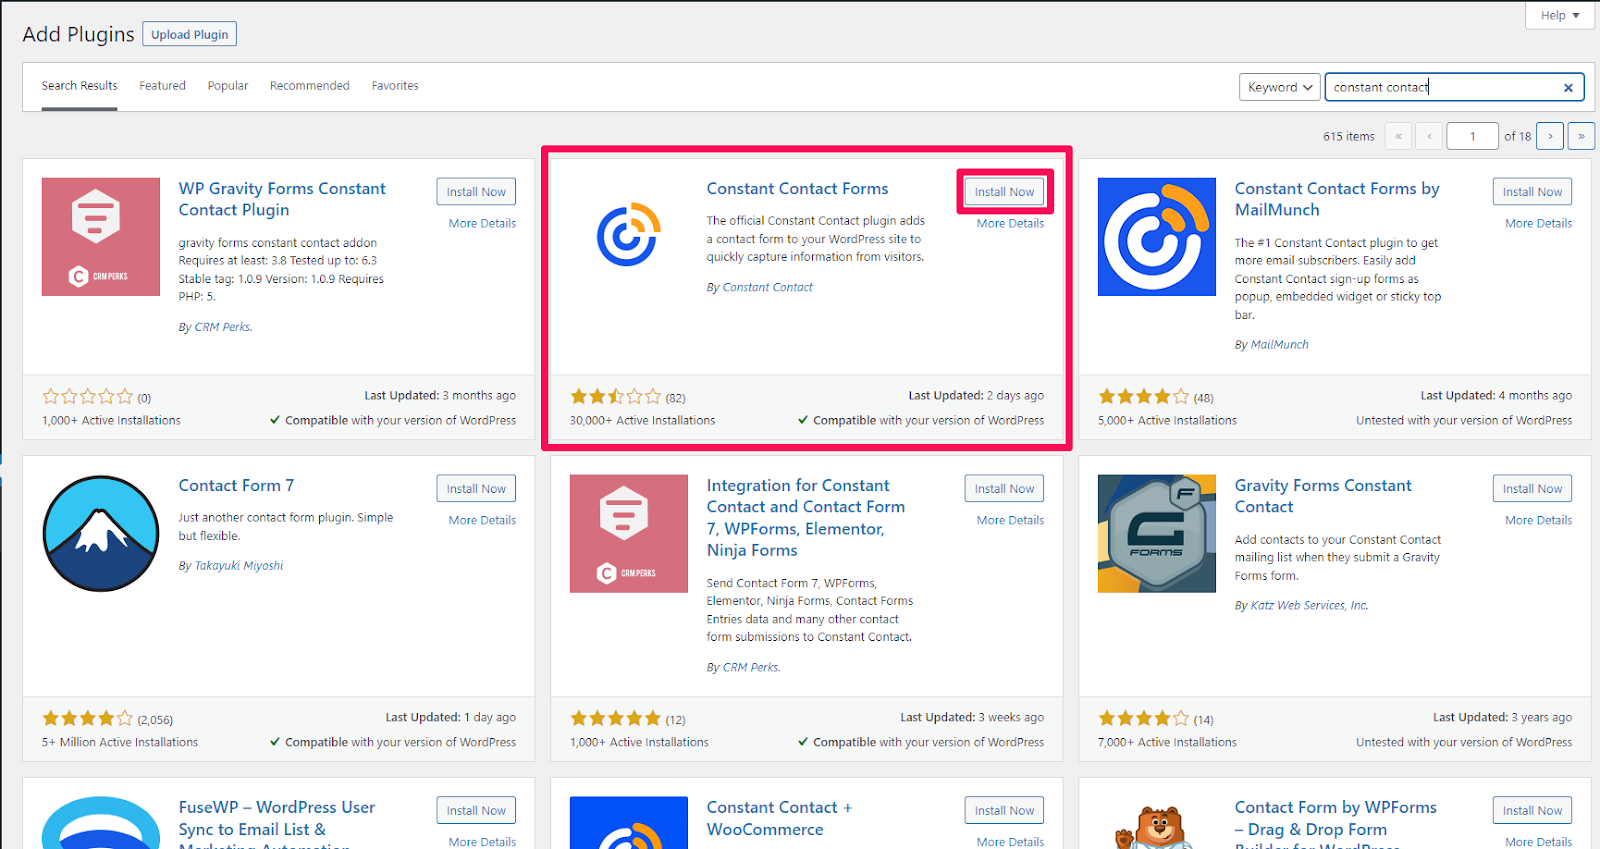
- Search for Constant Contact: In the search bar, type “Constant Contact” and press Enter.
- Install the Plugin: Look for the “Constant Contact Forms” plugin by Constant Contact and click on the “Install Now” button.
- Activate the Plugin: After the plugin has been installed, click on the “Activate” button.
Step 3: Connect Your Constant Contact Account
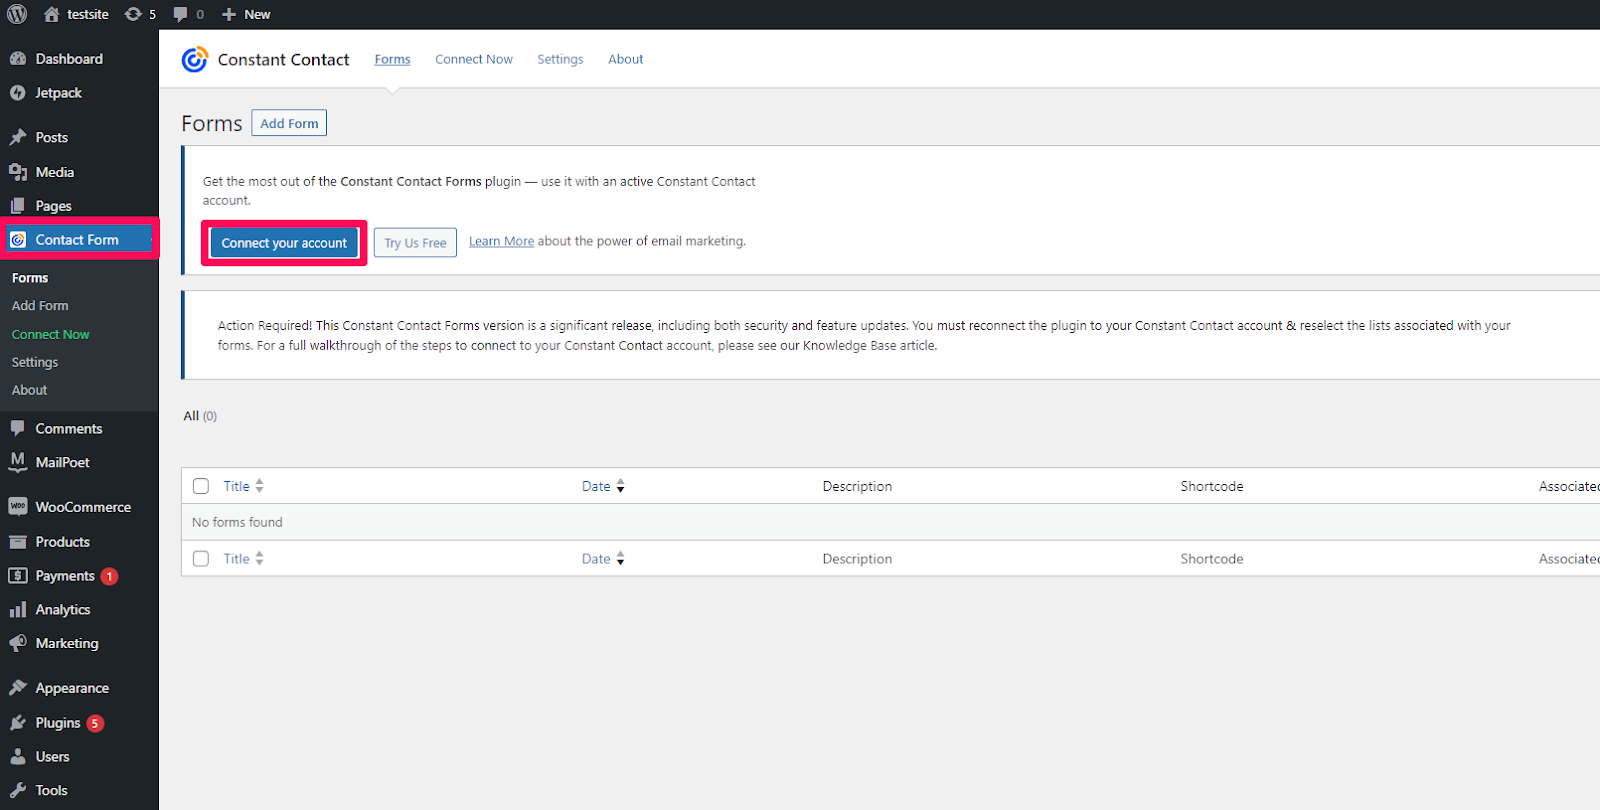
- Navigate to Constant Contact Forms: On the left-hand side of the WordPress Dashboard, you should now see “Constant Contact Forms.” Click on it.
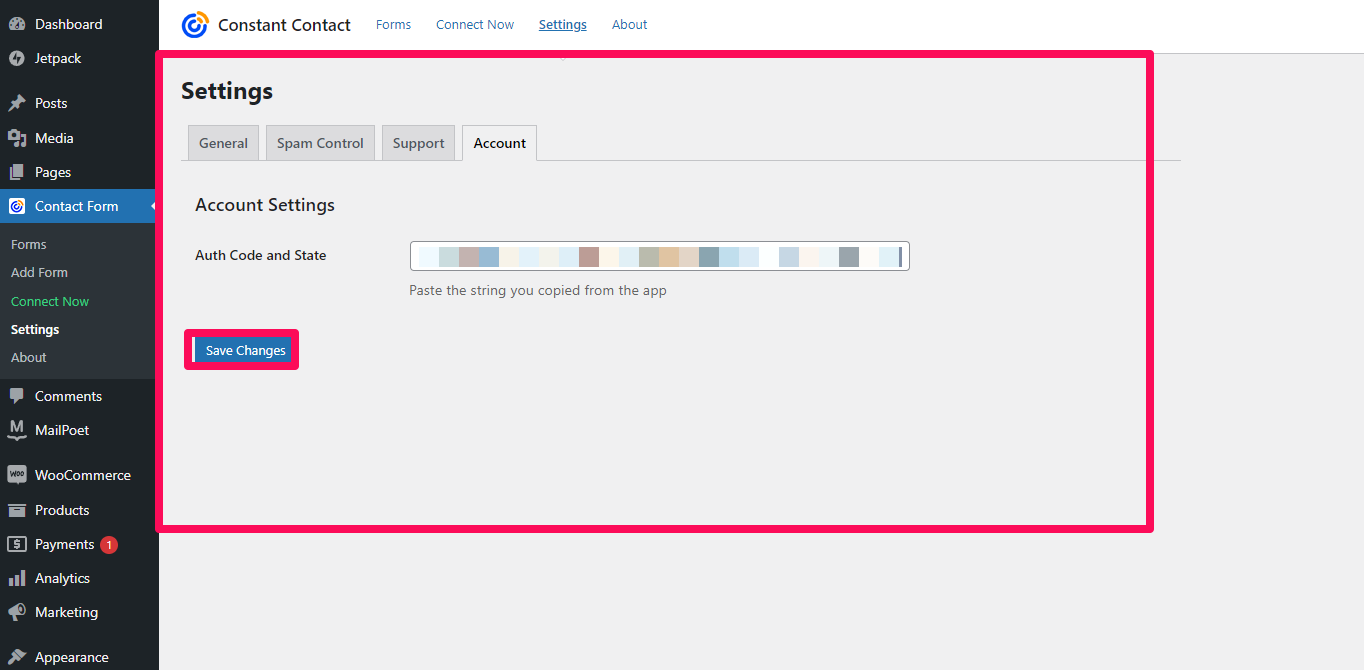
- Connect Your Account: Click on “Connect Account” and enter your Constant Contact login credentials to link your account.
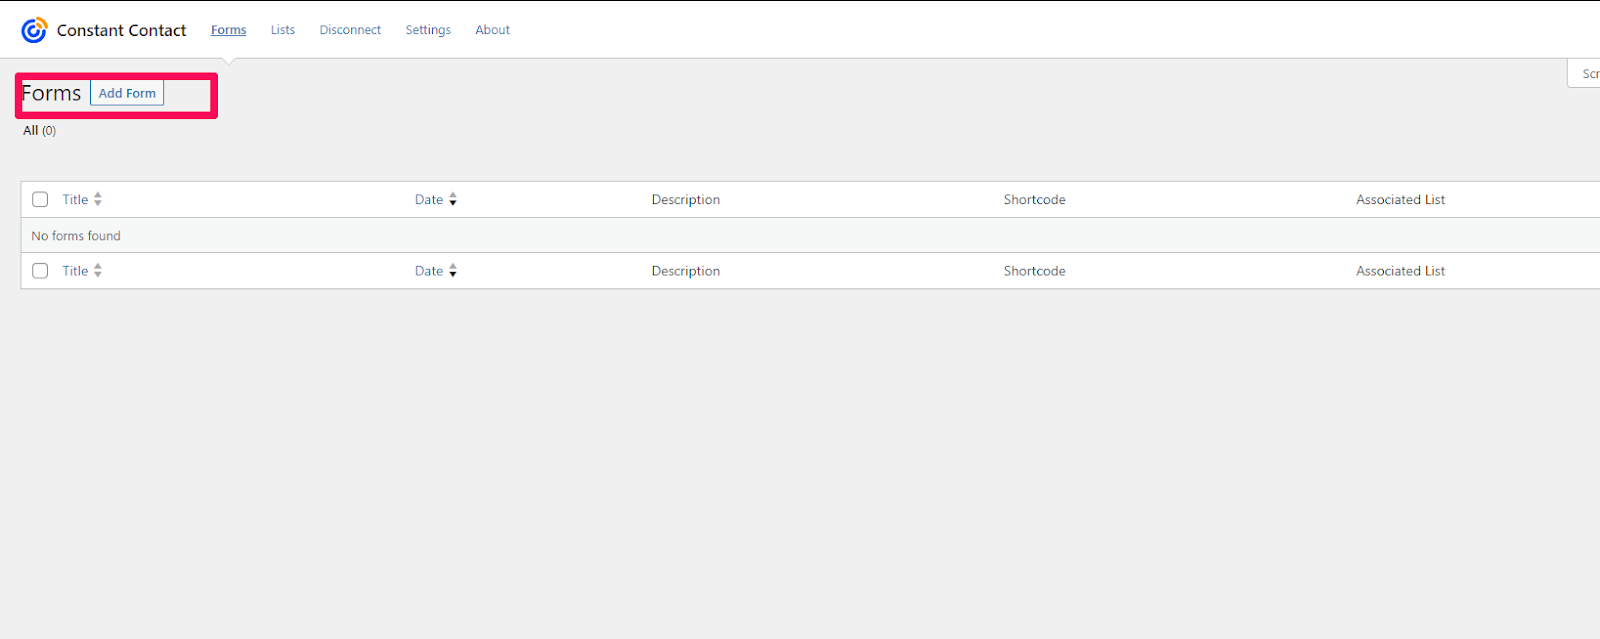
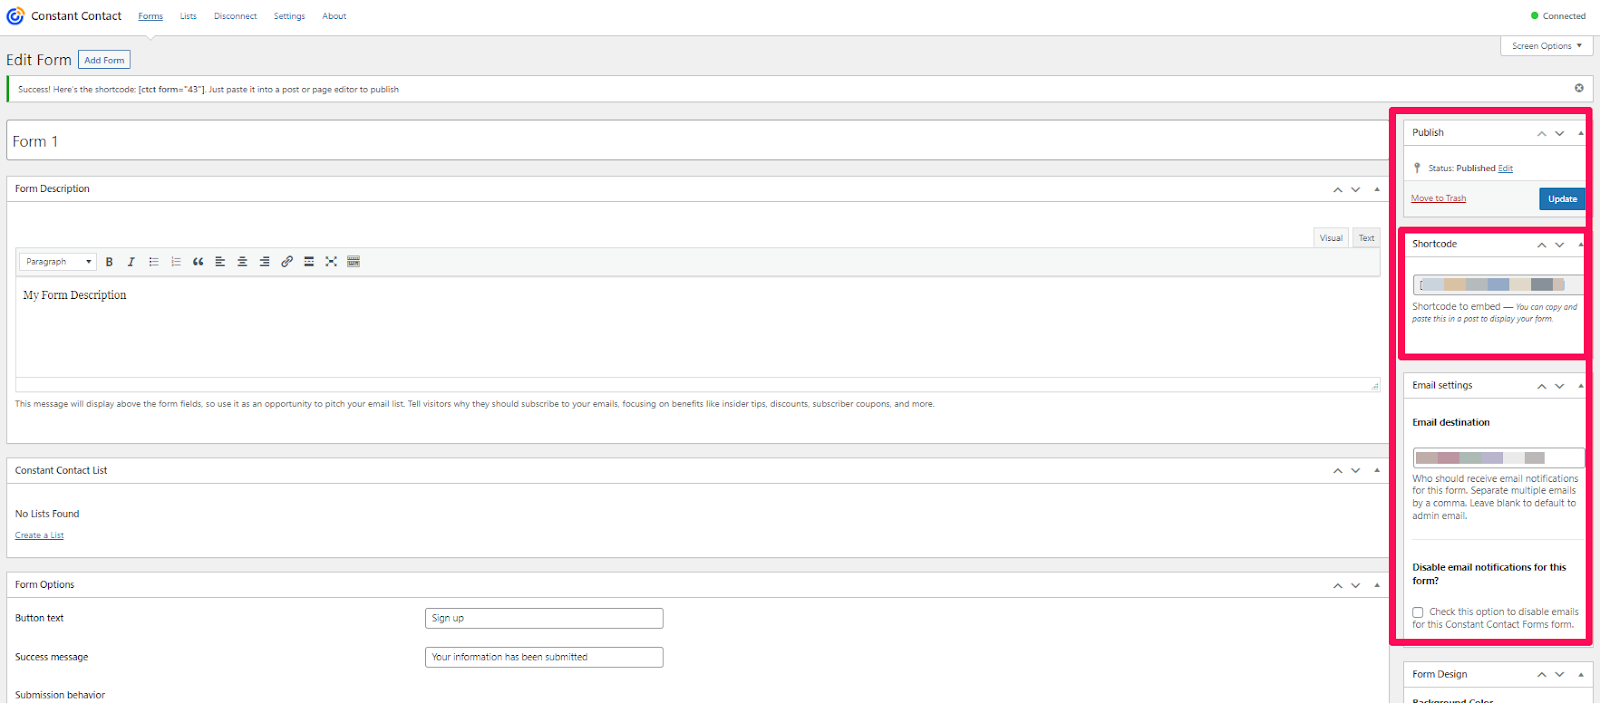
Step 4: Create a New Form
- Click on ‘Add New Form’: Once your account is connected, click on “Add New Form” to create a new email sign-up form.
- Configure Your Form: Give your form a title and choose the list you want subscribers to be added to. Customize the fields as necessary.
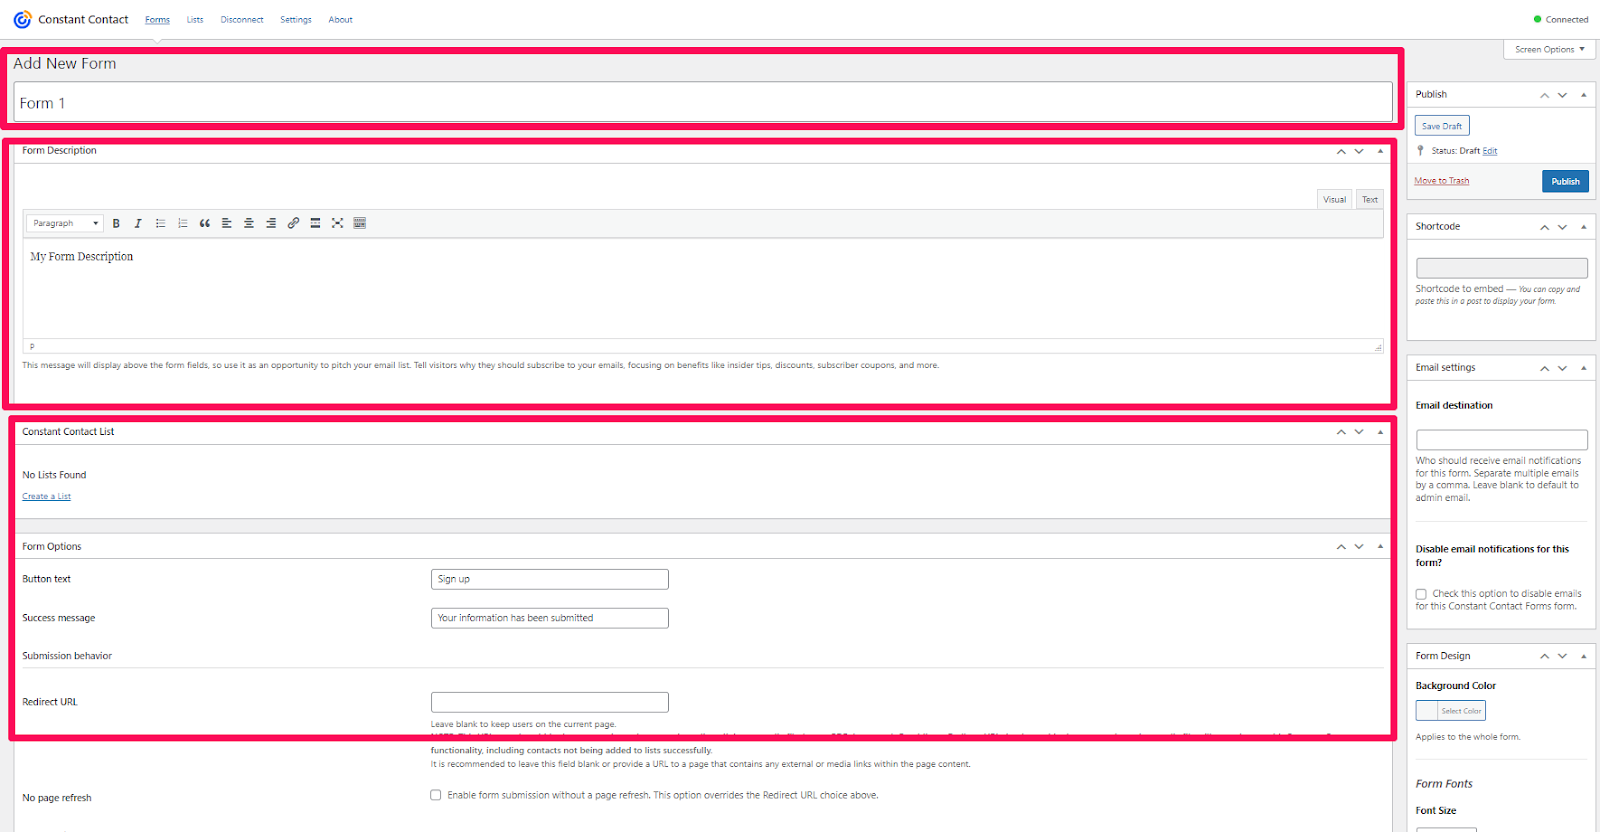
- Design Your Form: Use the design options to customize the appearance of your form.
- Save Your Form: Once you are satisfied with the setup, click “Save.”
Step 5: Add the Form to Your Site
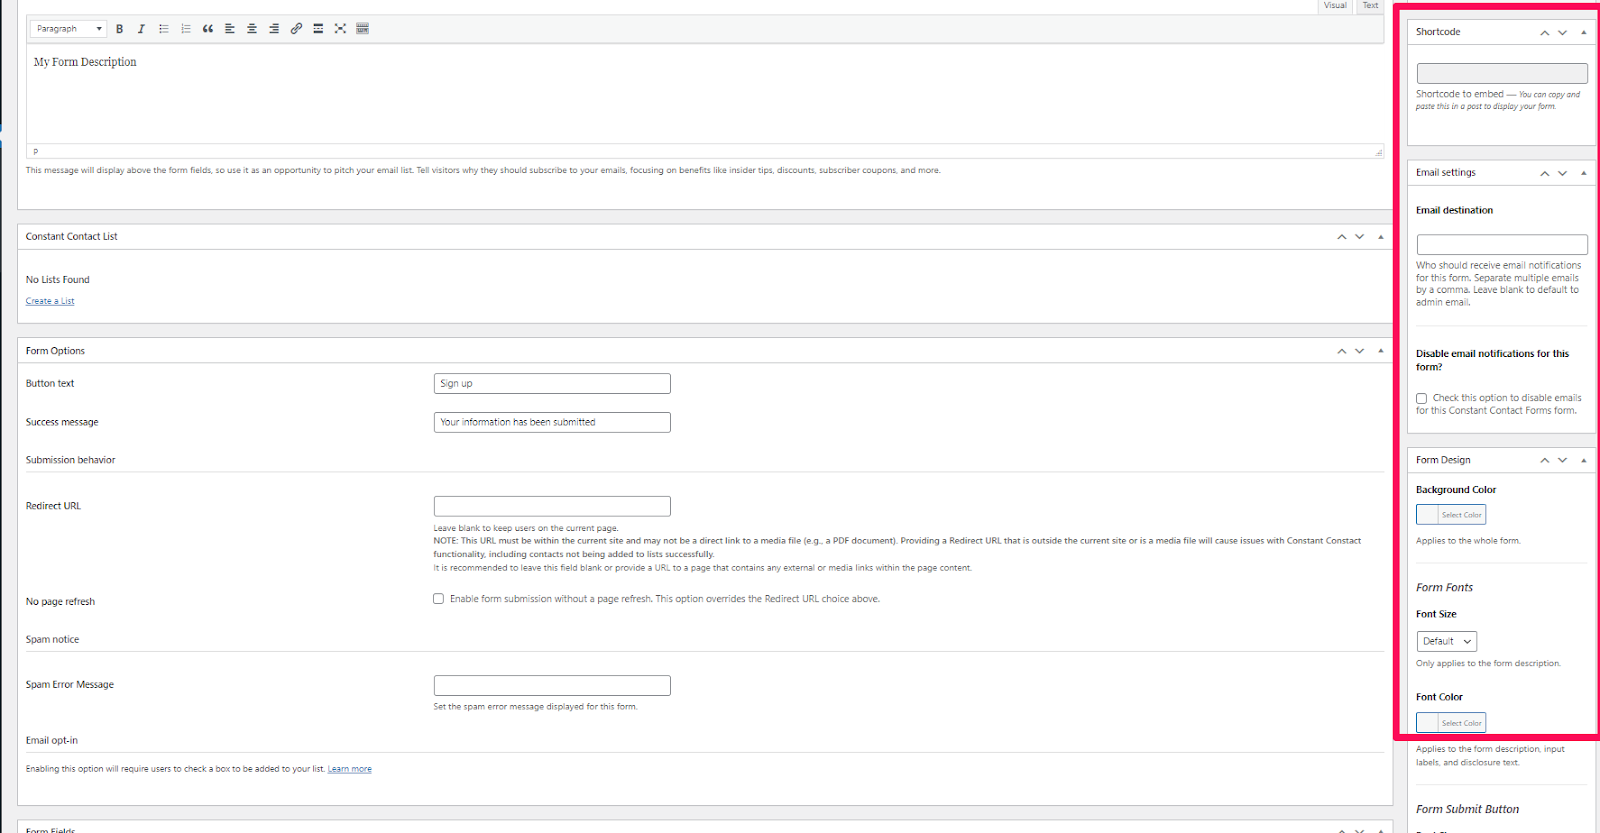
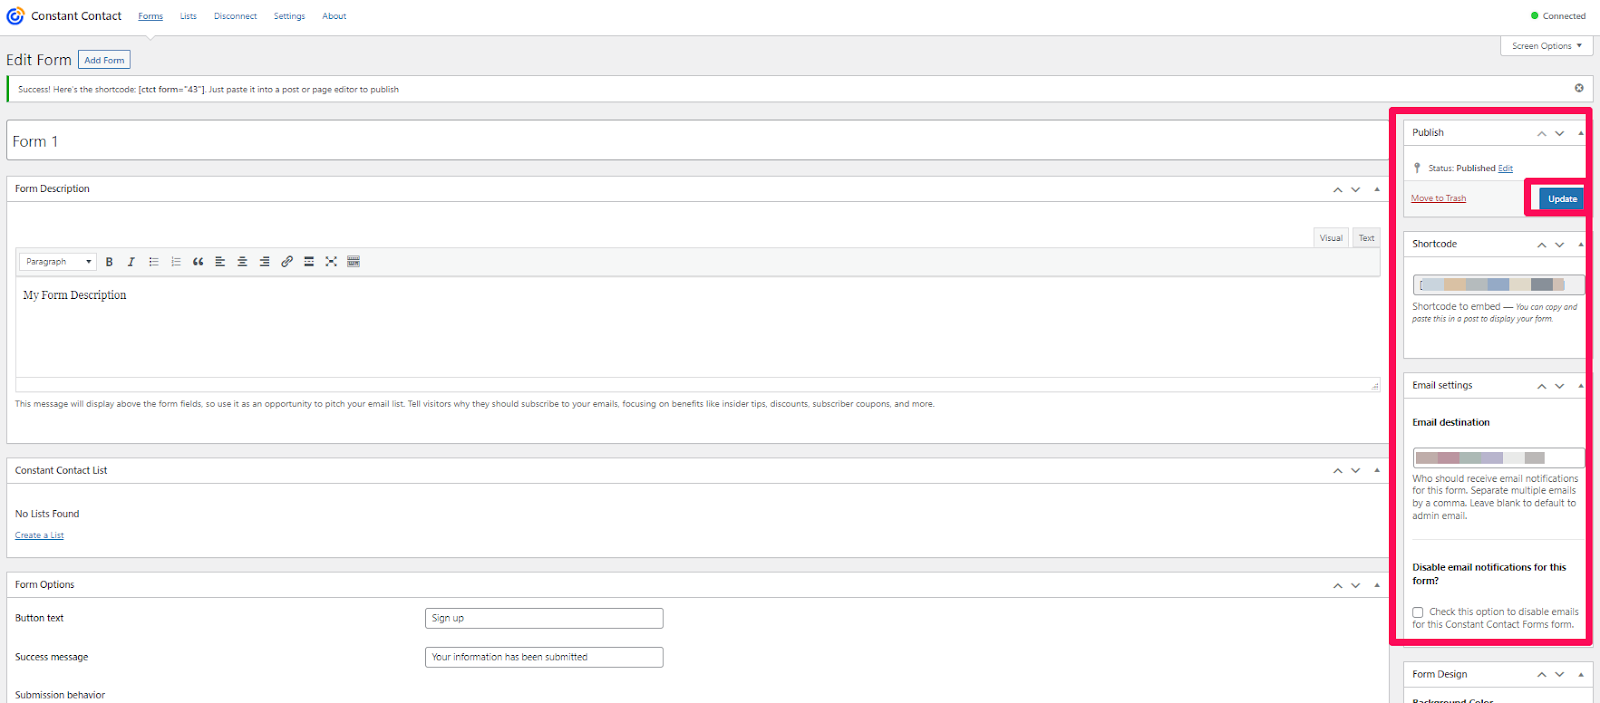
- Use a Shortcode: Constant Contact Forms provides a shortcode for each form you create. Copy the shortcode.
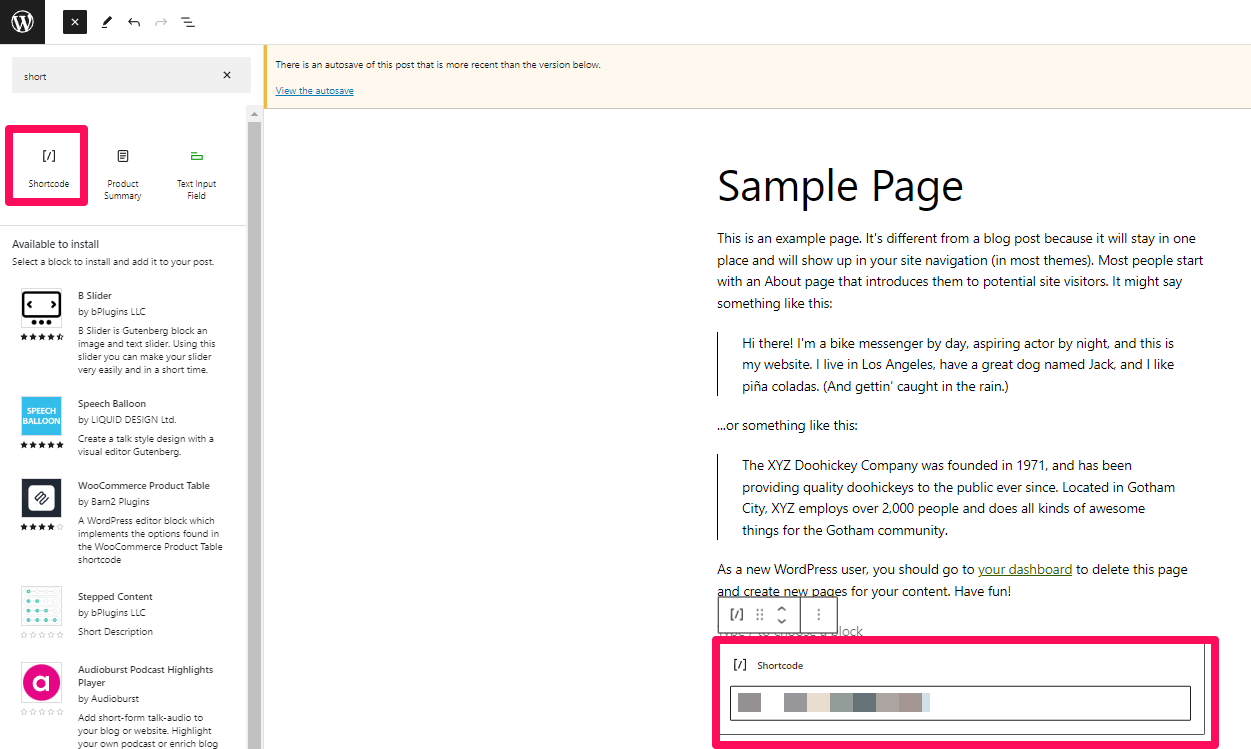
- Create a New Page/Post: Go to “Pages” or “Posts” and add a new one, or edit an existing one.
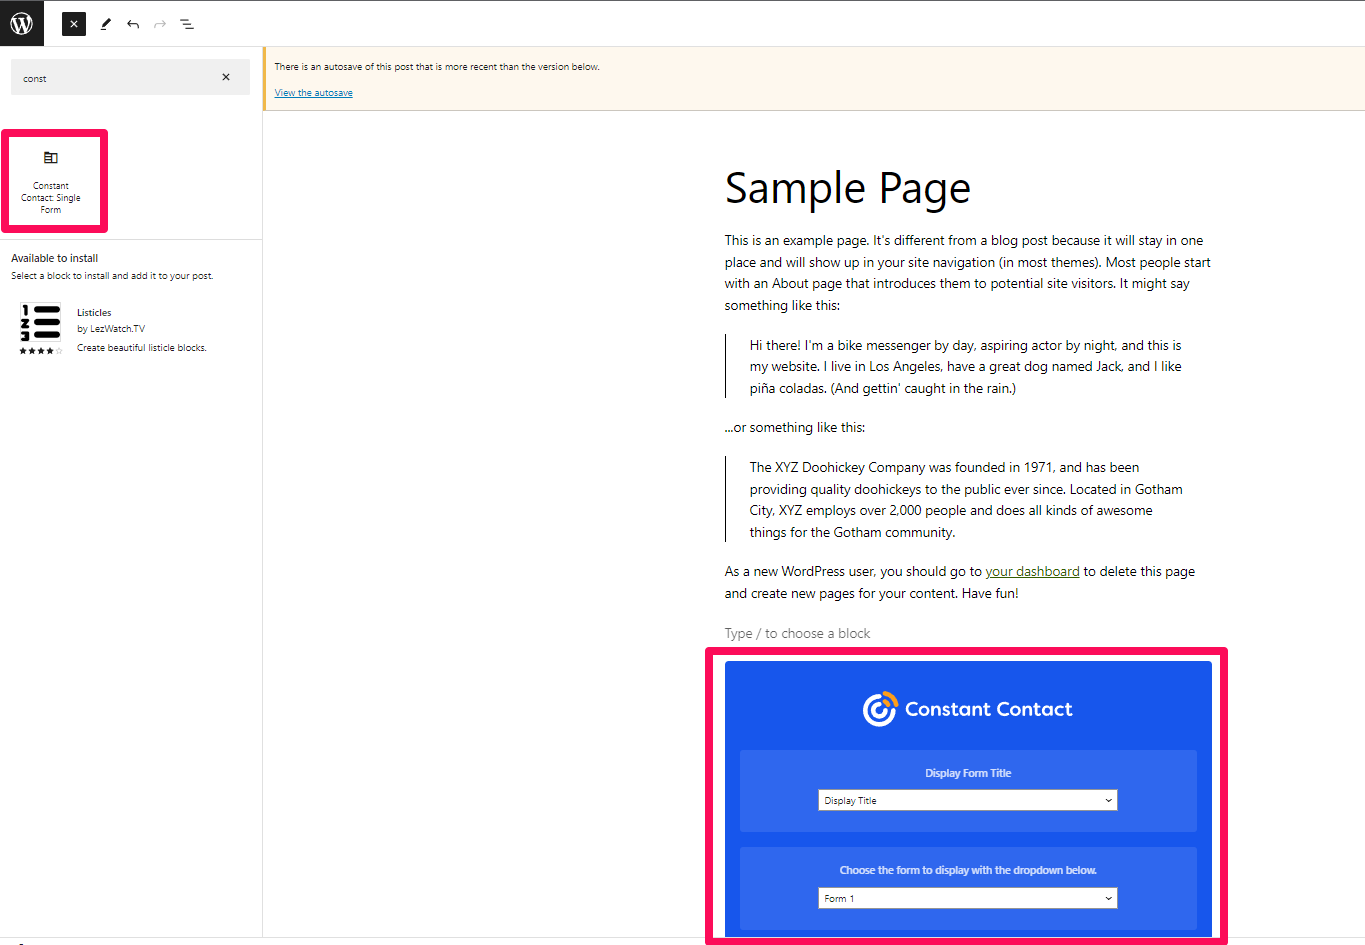
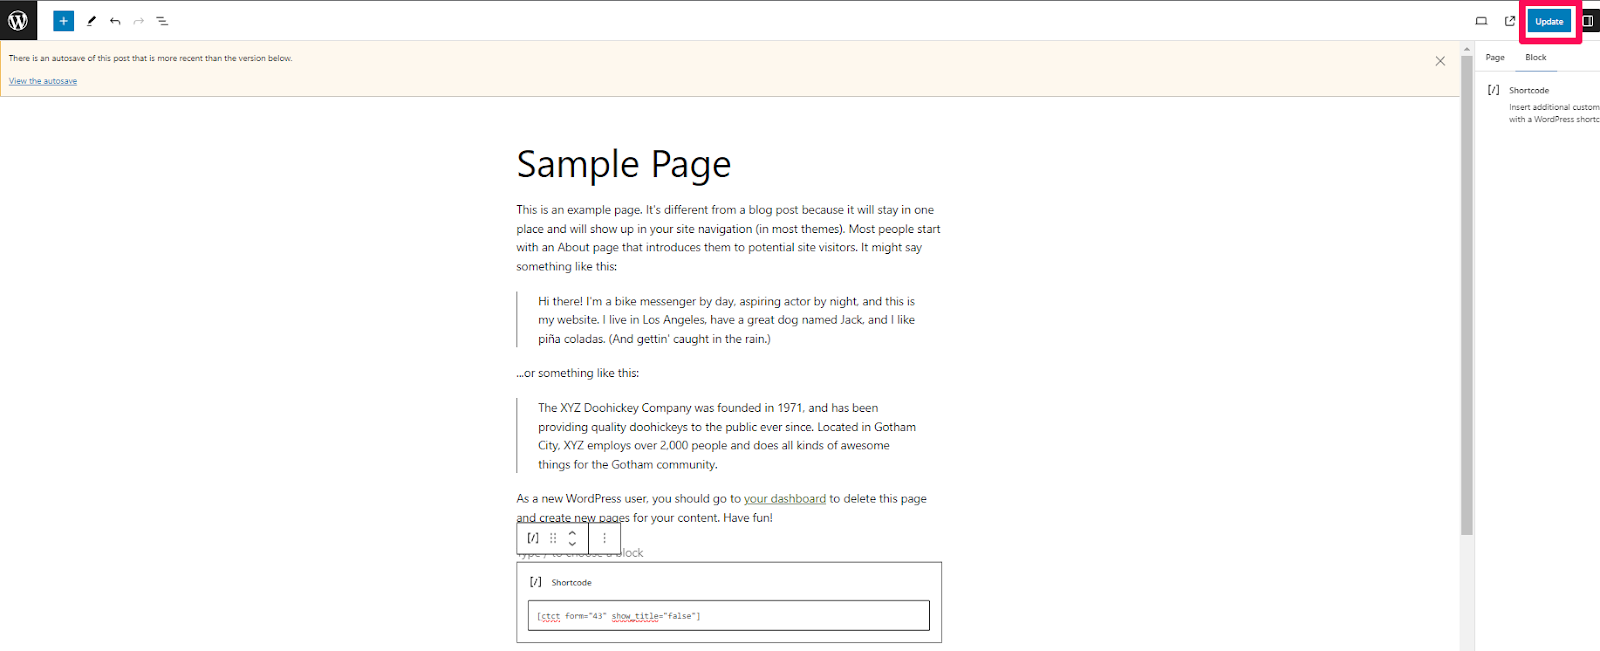
- Paste the Shortcode: In the WordPress editor, paste the shortcode where you want the form to appear.
*Short Code Block
*Constant Contact Block
- Publish/Update the Page/Post: Click “Publish” or “Update” to save your changes.
Step 6: Test Your Form
After publishing, visit the page or post where you added the form to ensure it’s displaying correctly and working as expected. Fill out the form to make sure that the data is being sent to your Constant Contact account.
Step 7: (Optional) Configure Additional Settings
Depending on your needs, you may want to explore additional settings and configurations provided by the Constant Contact Forms plugin. This could include configuring confirmation messages, redirecting users after submission, and more.
And that’s it! You have successfully added Constant Contact to your WordPress site. Remember to regularly check your Constant Contact account to manage your email list and view subscriber activity.


Copyright ByRivers Tech LLC/ WP-Tutoring.Com All Rights Reserved.
