The New Image Widget enables WordPress users to quickly and easily add images to particular widget areas in their website theme. Using the New Image Widget makes it easier to enhance the visual appeal of your websites. For example, you can now tailor content focused on what the reader finds on your page. This can further enhance your readers browsing experience and encourages them to return to your site.
With WordPress 4.8 the image widget is built right into the core. Previously, we have to manually add the image widget by using a plugin or writing custom HTML. Today, we just have to drag and drop it. To guide you further, check out the following step-by-step guide.
How to Add New Image to the Image Widget Quickly and Easily
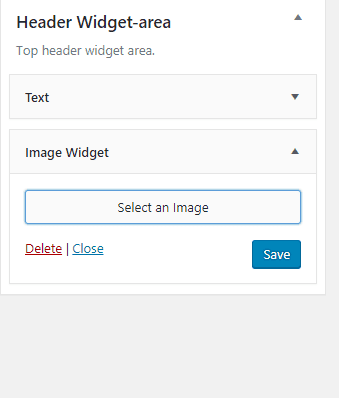
Step 1. Click Appearance and then click Widgets.
Step 2. Look for the Image Widget then drag and drop it on the side bar.

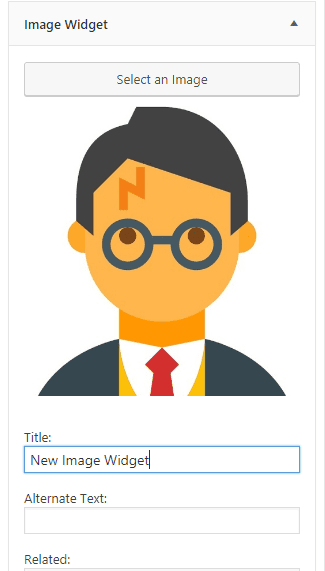
Step 3. Select the image from your media library or upload it from your computer.
Step 4. You may want to put a title, alternate text, caption, and description of your image,(helps with accessibility and SEO).
Step 5. Click Save. You can now view your New Image Widget on your website.


Copyright ByRivers Tech LLC/ WP-Tutoring.Com All Rights Reserved.
