Table of contents
The Separator block draws a horizontal line between sections — a small visual "new topic starts here" for your readers. It's one of the simplest blocks in WordPress, with a couple of styling options worth knowing. Re-shot in August 2026 on WordPress 7.0.
- Insert it from the block inserter, or just type
---on an empty line and press Enter. - Three built-in styles: Default, Wide Line, Dots — in the sidebar's Styles tab.
- The line's color is set under Color → Background.
- Want blank space instead of a visible line? That's the Spacer block.
Place your cursor where the break should go, click the blue + in the
top-left corner, search for separator, and click it. (Shortcut: type
--- on an empty line and press Enter — same result, no menus.)
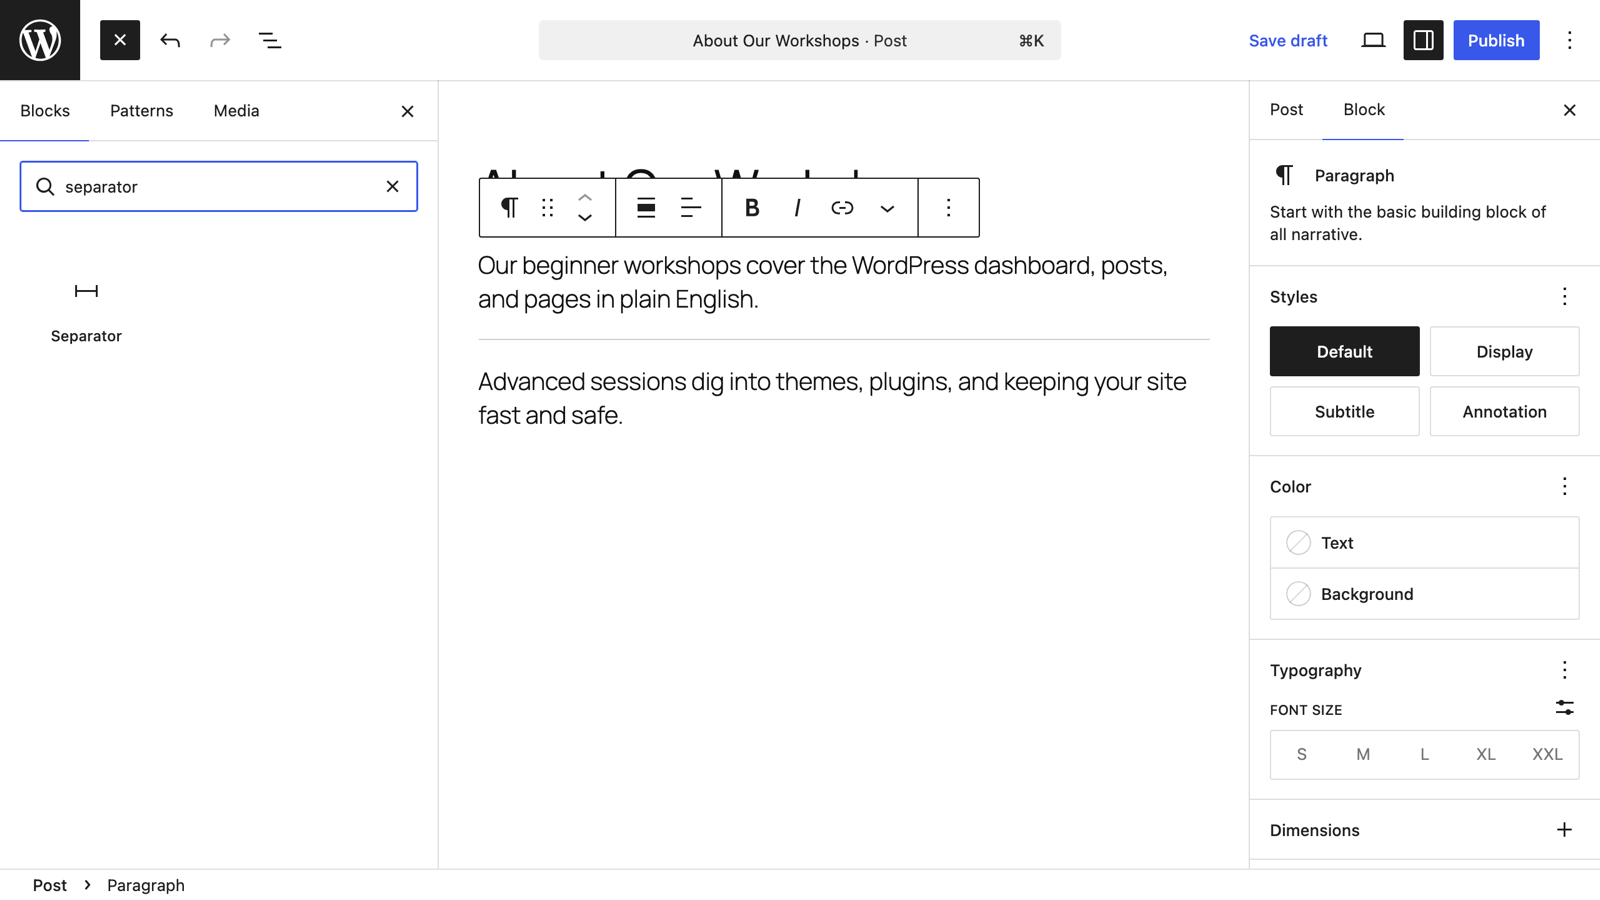
A horizontal line appears between your blocks:
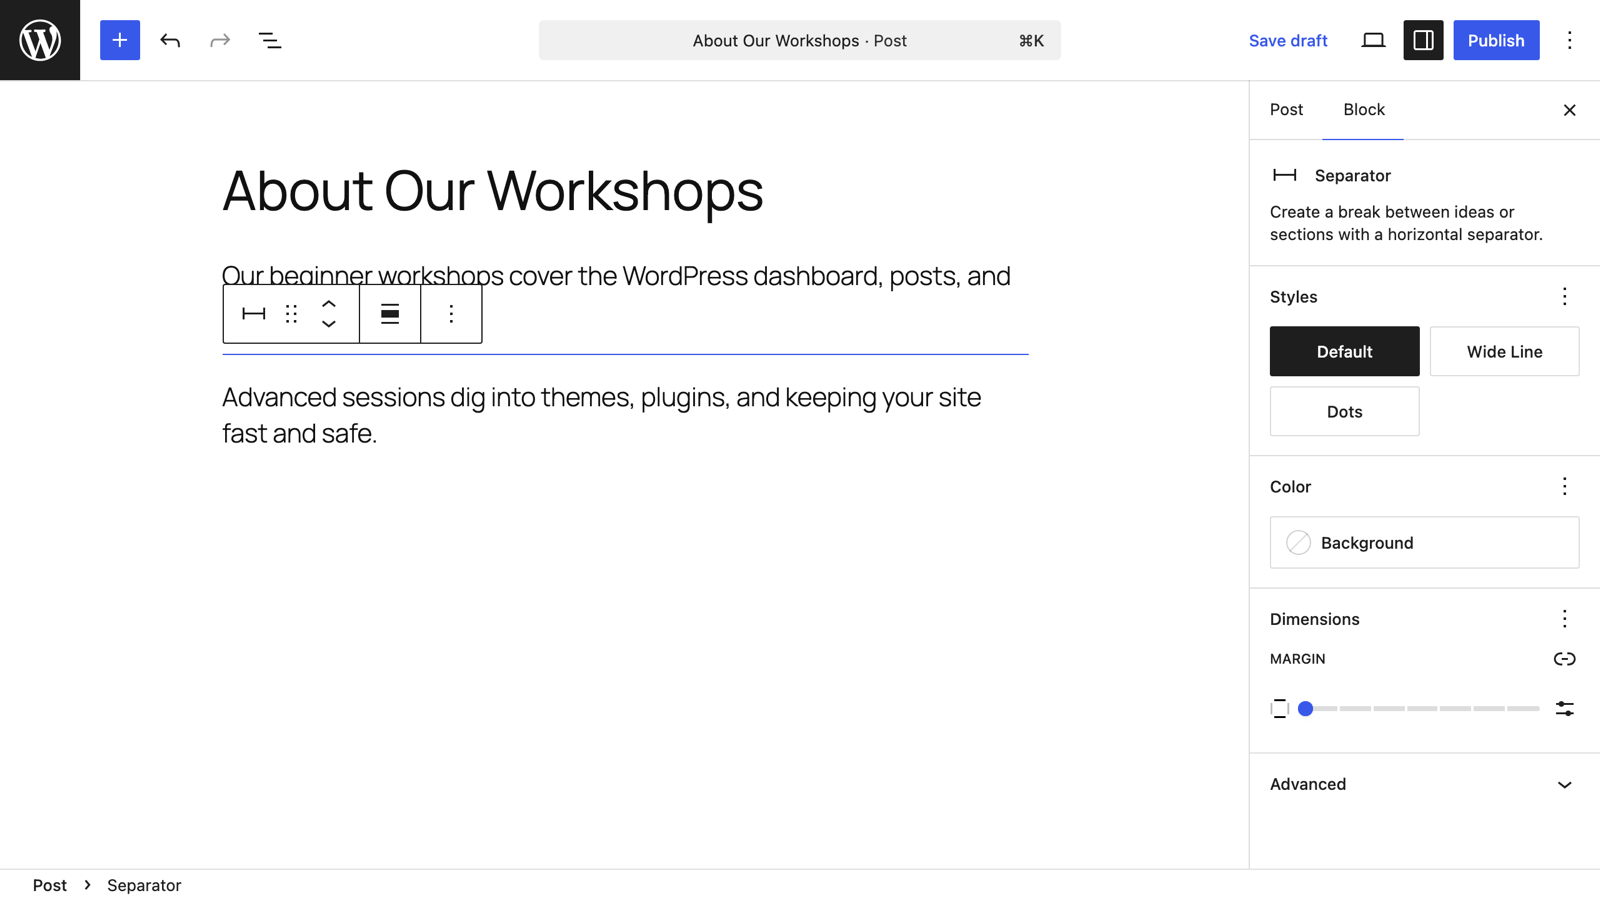
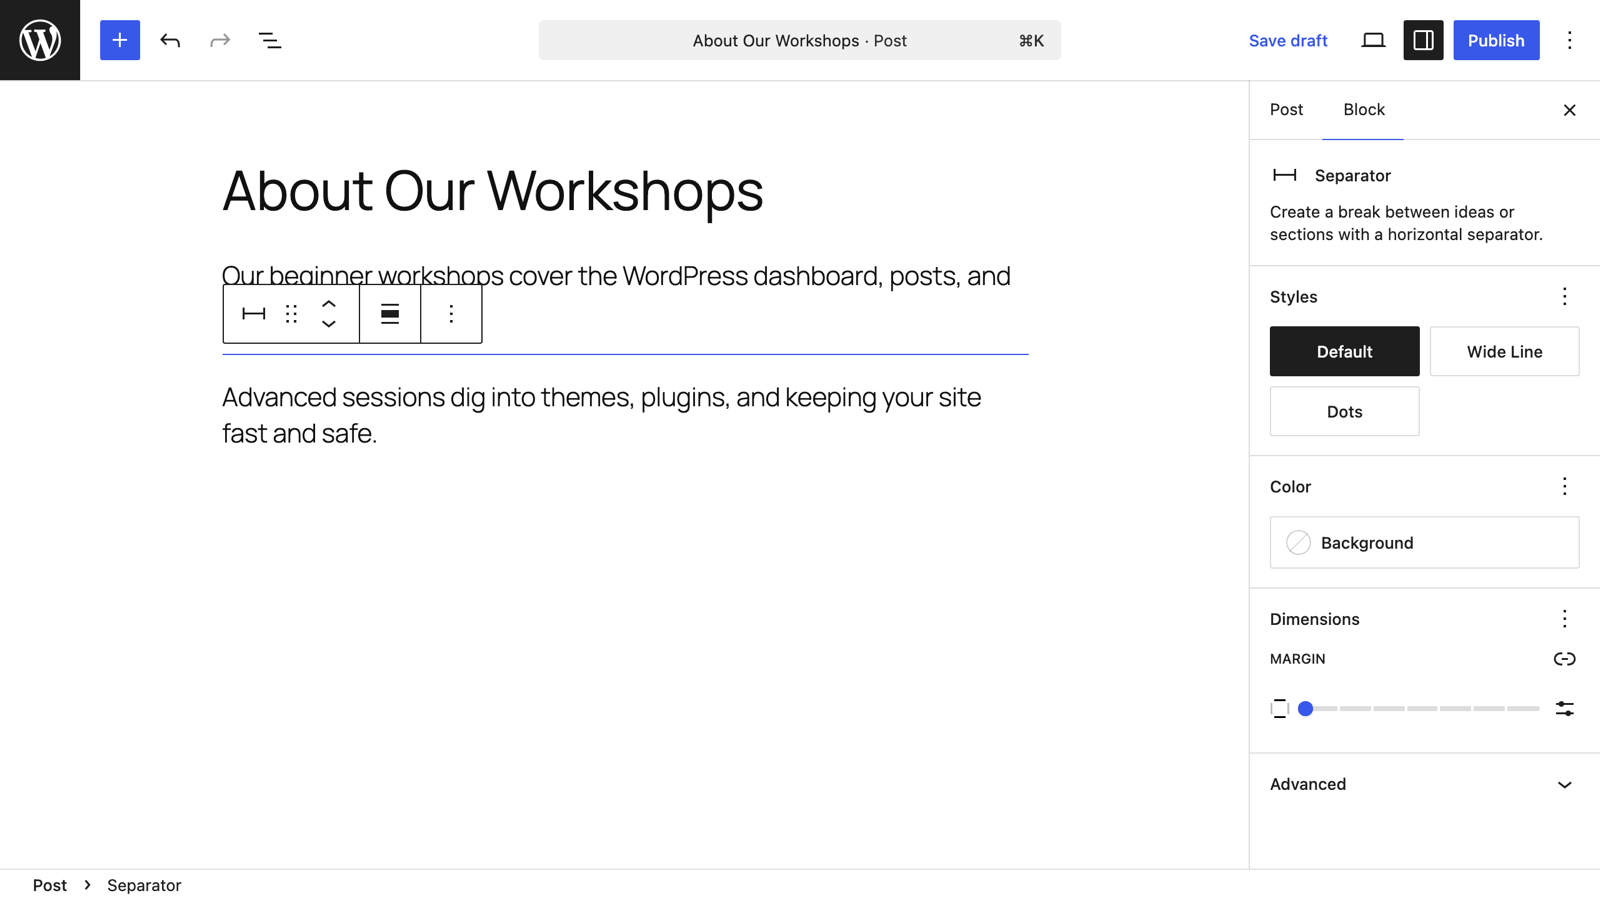
With the separator selected, open the settings sidebar and switch to the Styles tab. WordPress ships three looks: Default (short centered line), Wide Line (full width), and Dots.
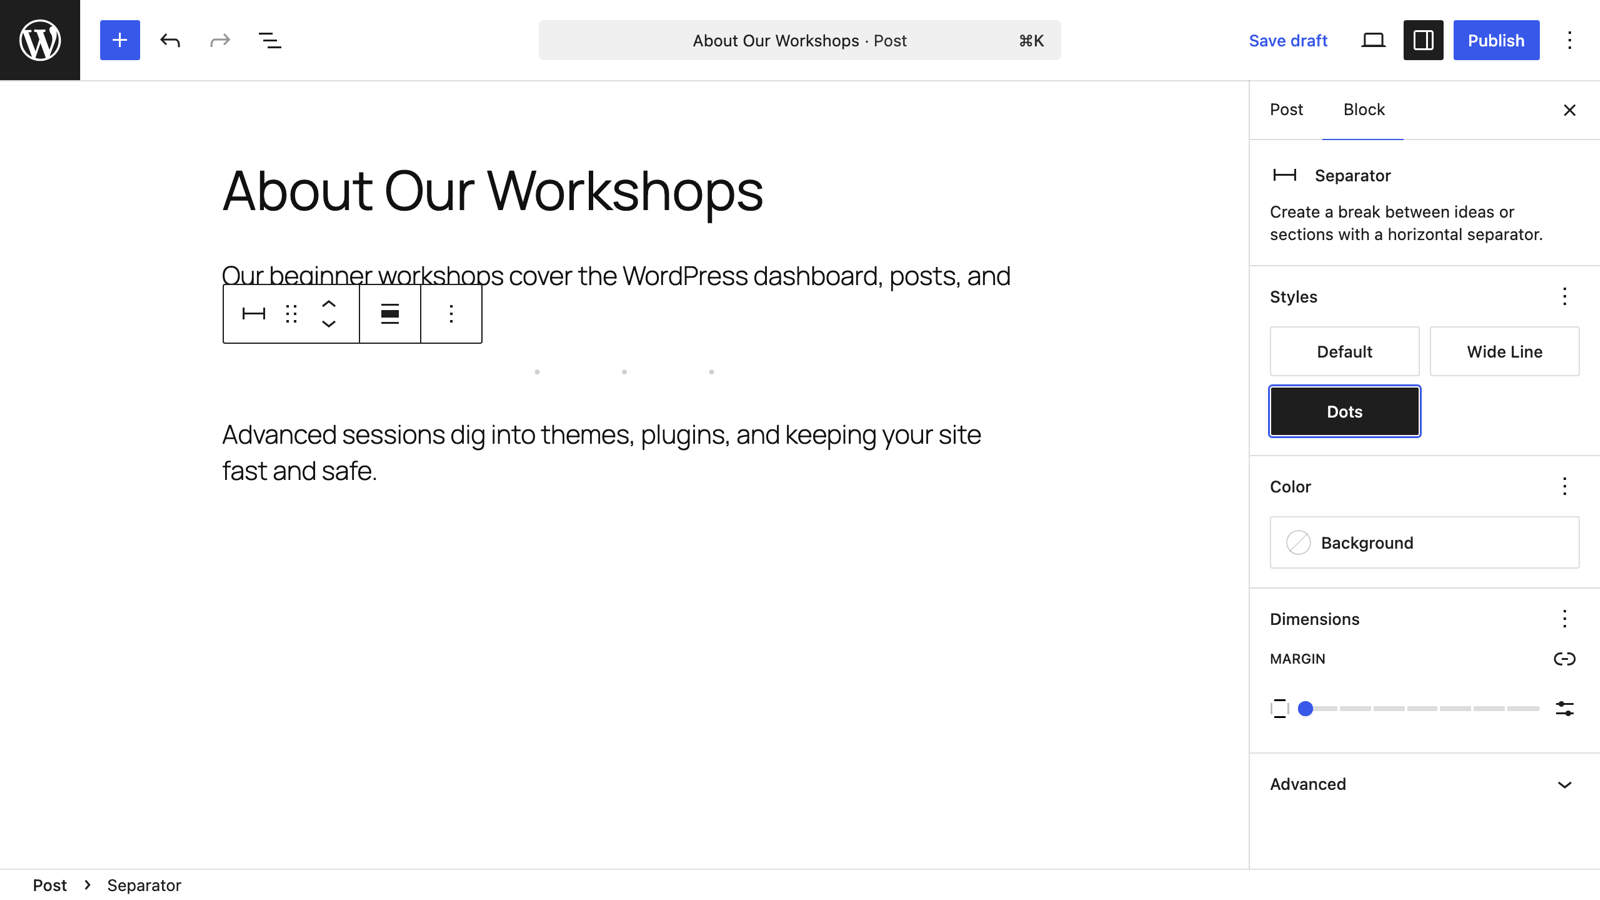
Here's the Dots style applied — a softer break that works well between loosely-related sections:
In the same sidebar, Color → Background sets the line's color, and the Dimensions → Margin control adjusts how much space sits above and below it. Then Publish or Update as usual.
Separators lose their meaning when every few paragraphs has one. Headings already give readers (and search engines) structure — save the lines for real shifts in topic, like the end of an intro or the start of an FAQ.
Keep learning
- The Spacer block in Gutenberg — invisible spacing instead of a line
- Adding a heading in Gutenberg
- How to use WordPress block patterns

Leave a comment