In this video you’ll learn how to add a gallery in Gutenberg. Adding a gallery is much easier than you might think.
.
The Gallery block in the WordPress Gutenberg editor is an essential tool for displaying multiple images in a clean, organized grid. Here’s how to add a gallery in Gutenberg:
Step-by-Step Tutorial on How to add a Gallery in Gutenberg:
- Adding the Gallery Block:
- Create or edit a post/page in your WordPress dashboard.
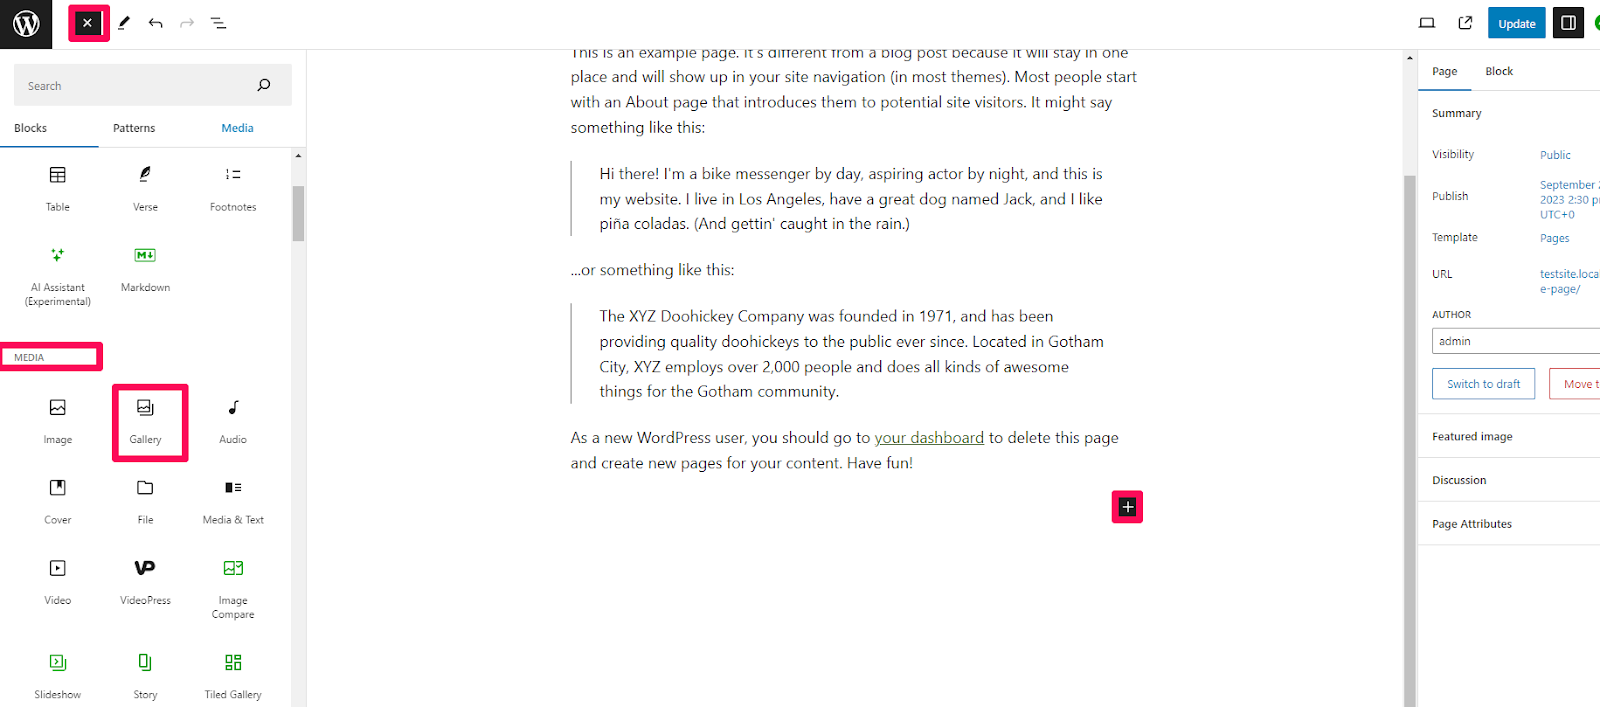
- Click on the ‘+’ button, either in the content area or from the top left, to add a new block.
- Use the search bar to type “Gallery” or browse under the ‘Media’ section to find the ‘Gallery’ block.
- Click on it to insert it into your post or page.
- Adding Images to the Gallery:
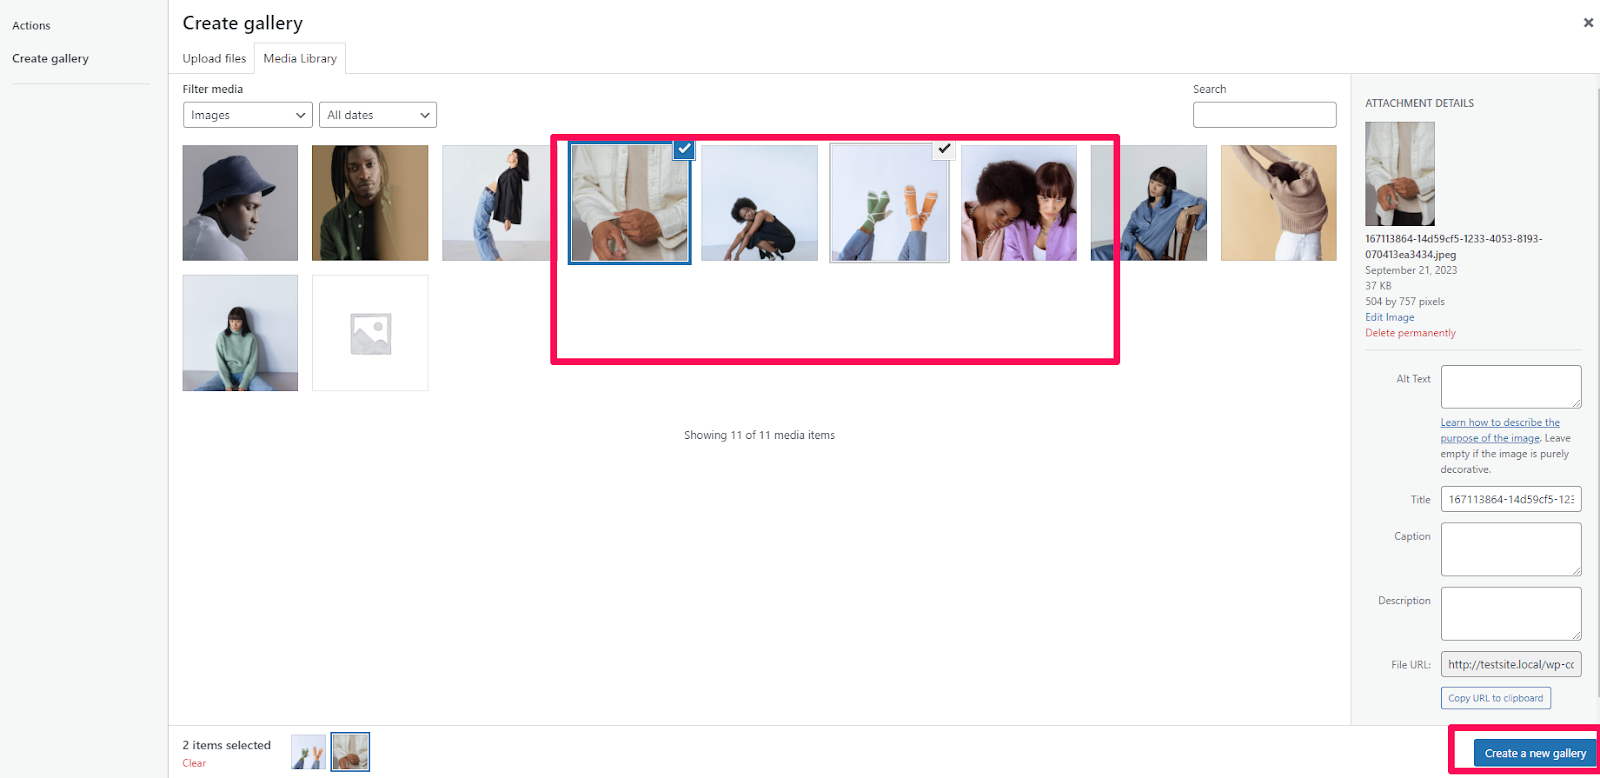
- Once you’ve inserted the Gallery block, you’ll have two options: Upload or Media Library.
- Upload: Use this option to select images from your device.
- Media Library: Use this to pick images that have already been uploaded to your WordPress site.

- Select all the images you want to include in your gallery and click on the “Create a new gallery” button.
- Reordering and Editing Individual Images:
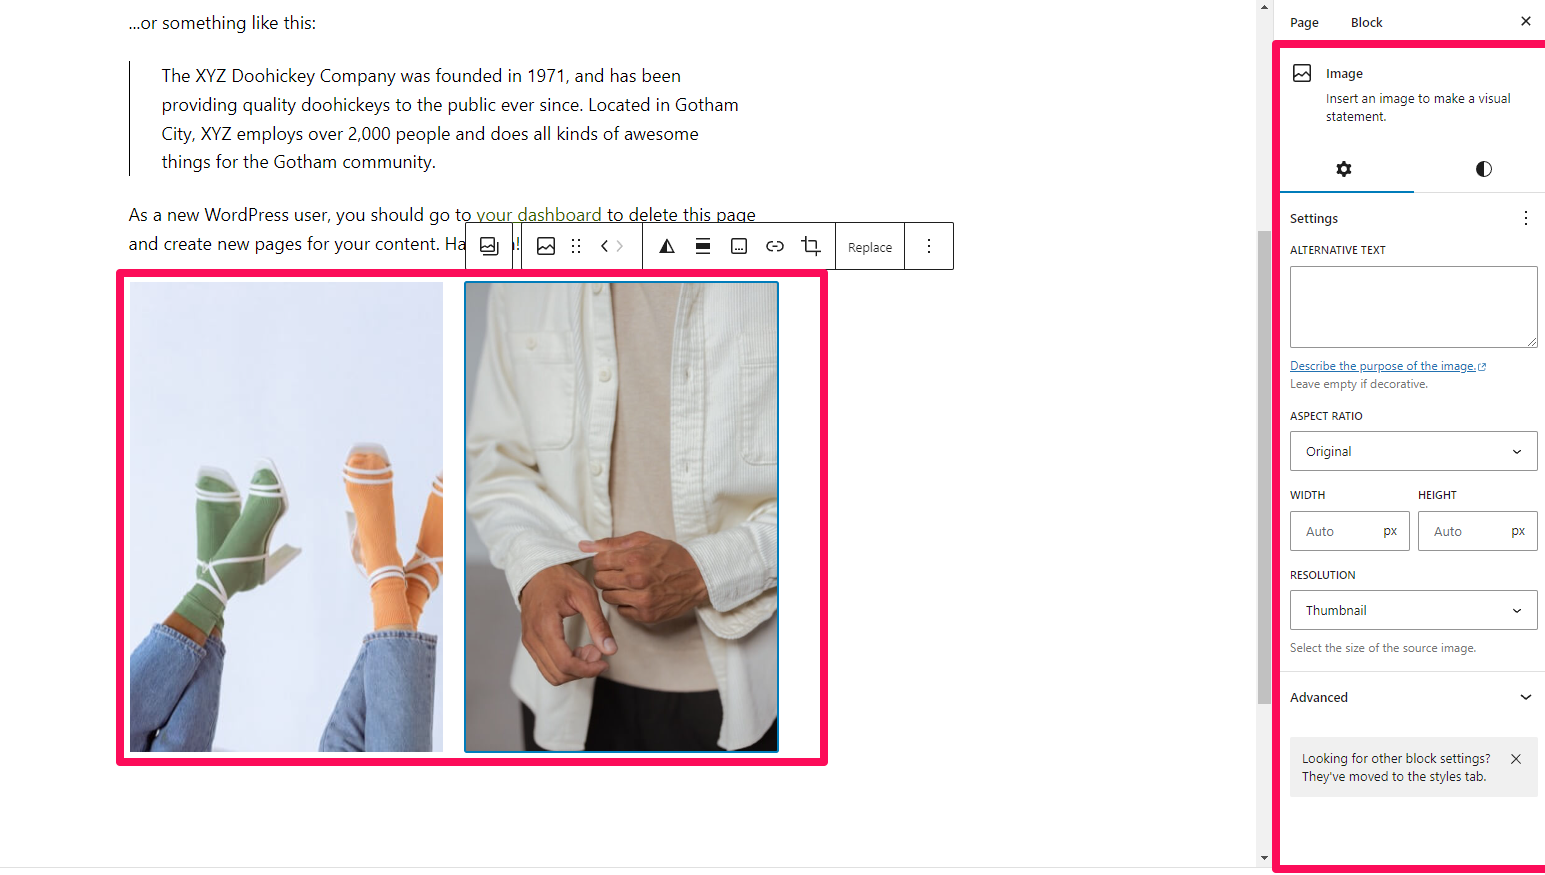
- After adding images, you can click and drag each one to rearrange their order.
- Clicking on an individual image will reveal options to either remove it or edit its caption.
- By clicking the pencil/edit icon on an image, you can edit additional information or replace the image.

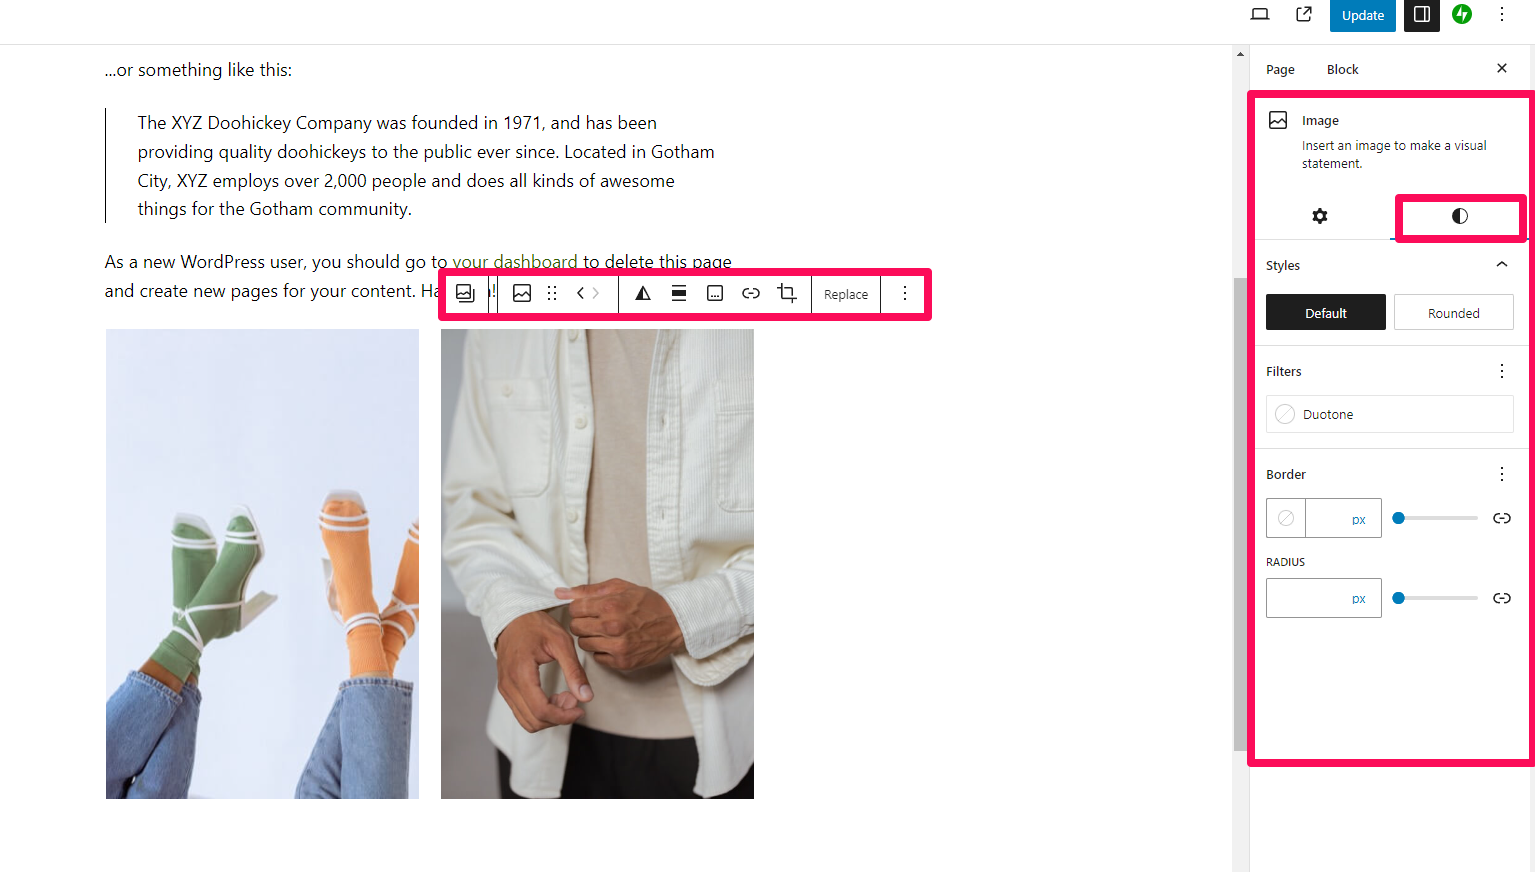
- Gallery Block Options & Settings:
- With the Gallery block selected, navigate to the block settings in the right sidebar.
- Under Block, you’ll find several options:
- Columns: Adjust the number of columns in your gallery. Gutenberg will automatically adjust the number based on the total images and space.
- Crop Images: Ensures all images are displayed in a uniform size by cropping them if needed.
- Link To: Decide if clicking an image leads to its attachment page, media file, or does nothing.
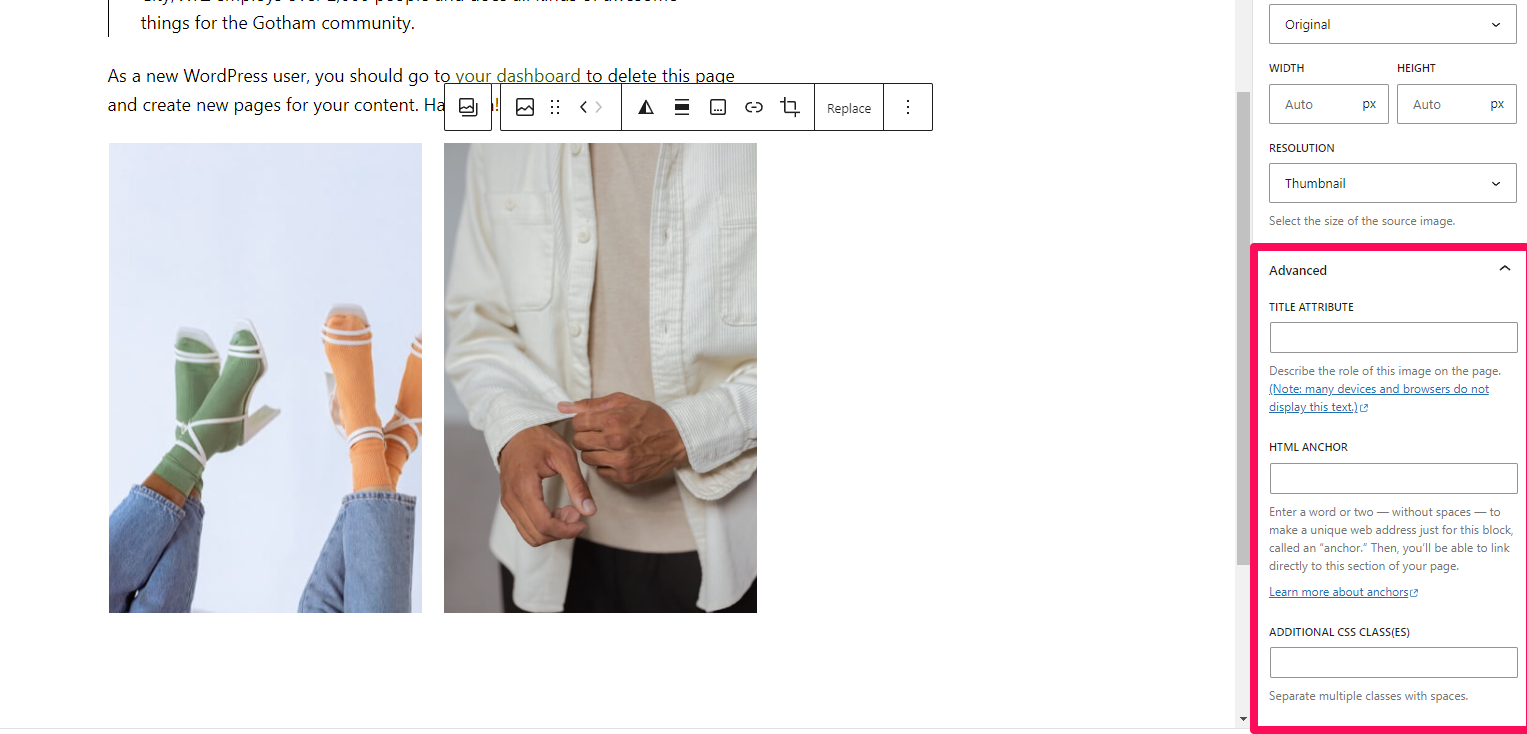
- Styling & Advanced Settings:
- Under Styles in the block settings sidebar, you can choose between two presentation styles: Default or Tiled. The choice will depend on your theme and personal preference.
- If you have knowledge of CSS, under the Advanced tab, you can add a CSS class for more specialized styling.
- Transforming the Gallery Block:
- Sometimes, you might want to change the gallery into individual images or vice versa. To do this, click on the Gallery block, then click the transform icon (it looks like two arrows) in the block toolbar, and select the desired transformation.
- Saving & Previewing:
- Click on ‘Preview’ to view how your gallery looks on the front end.
- If everything looks as expected, click ‘Update’ or ‘Publish’ to save your changes.
By learning how to add a gallery block in Gutenberg and its various options, you can create engaging visual content for your WordPress site, enhancing the overall look and feel of your posts and pages.


Copyright ByRivers Tech LLC/ WP-Tutoring.Com All Rights Reserved.
0 Comments